The ULTIMATE in alt/az telescope mounts?

My Observing Journey
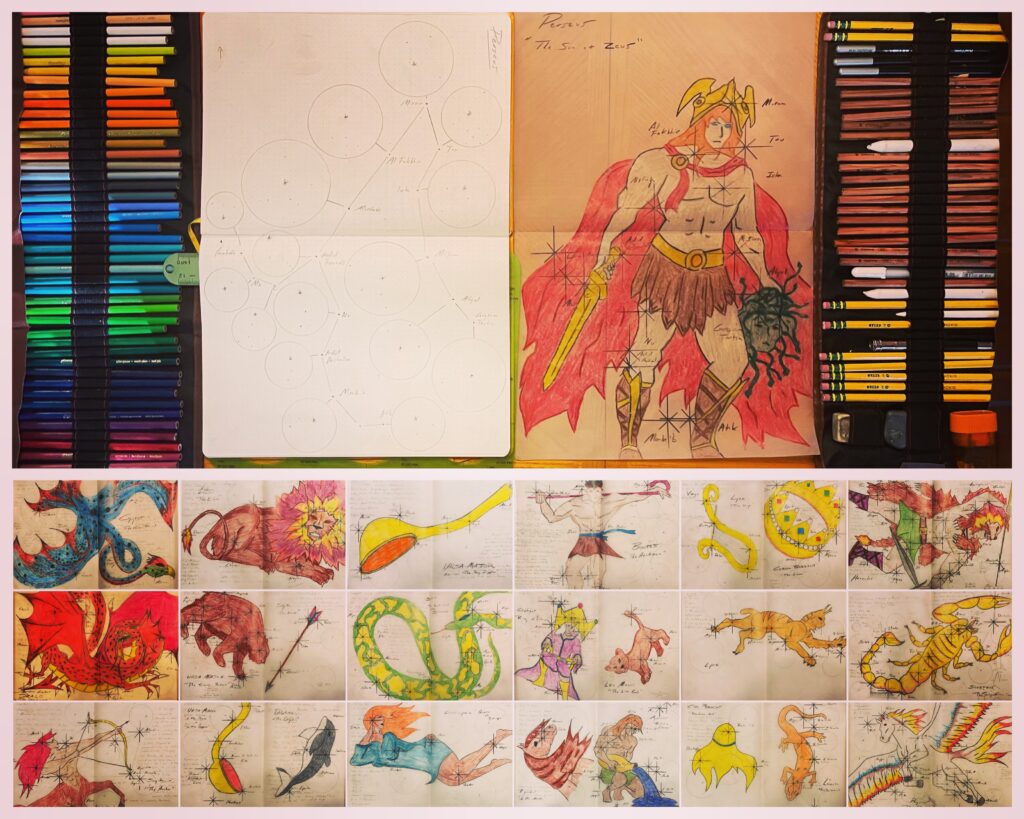
For me, observational astronomy began very organically. After 8 years in astrophotography, I slowly meandered toward the visual side of things. This came about by a need to understand the sky. Over the 7 years that were my Orion Project- https://space4everybody.com/home/project-orion/ , I found myself pouring through double stars, planetary nebula, and faint nebulosity that I had never seen before. Curiosity got the better of me and I dove in (head first). Luckily, my very first (adult purchased) telescope was a very nice William Optics 71 Zenithstar that gave tremendous views for its size. I stand by its planetary views despite its size, rivaling my 12” dobsonian. At the beginning, I had no idea the importance of a triplet, the difference of an achromat or apochromat, and I was happy if I could see the object in the eyepiece. So the slow progression of need and my general curiosity finally got the better of me, and I decided to get serious about observation. Years of equipment, some good and some bad, have led me to pursue the ultimate in observational astronomy.
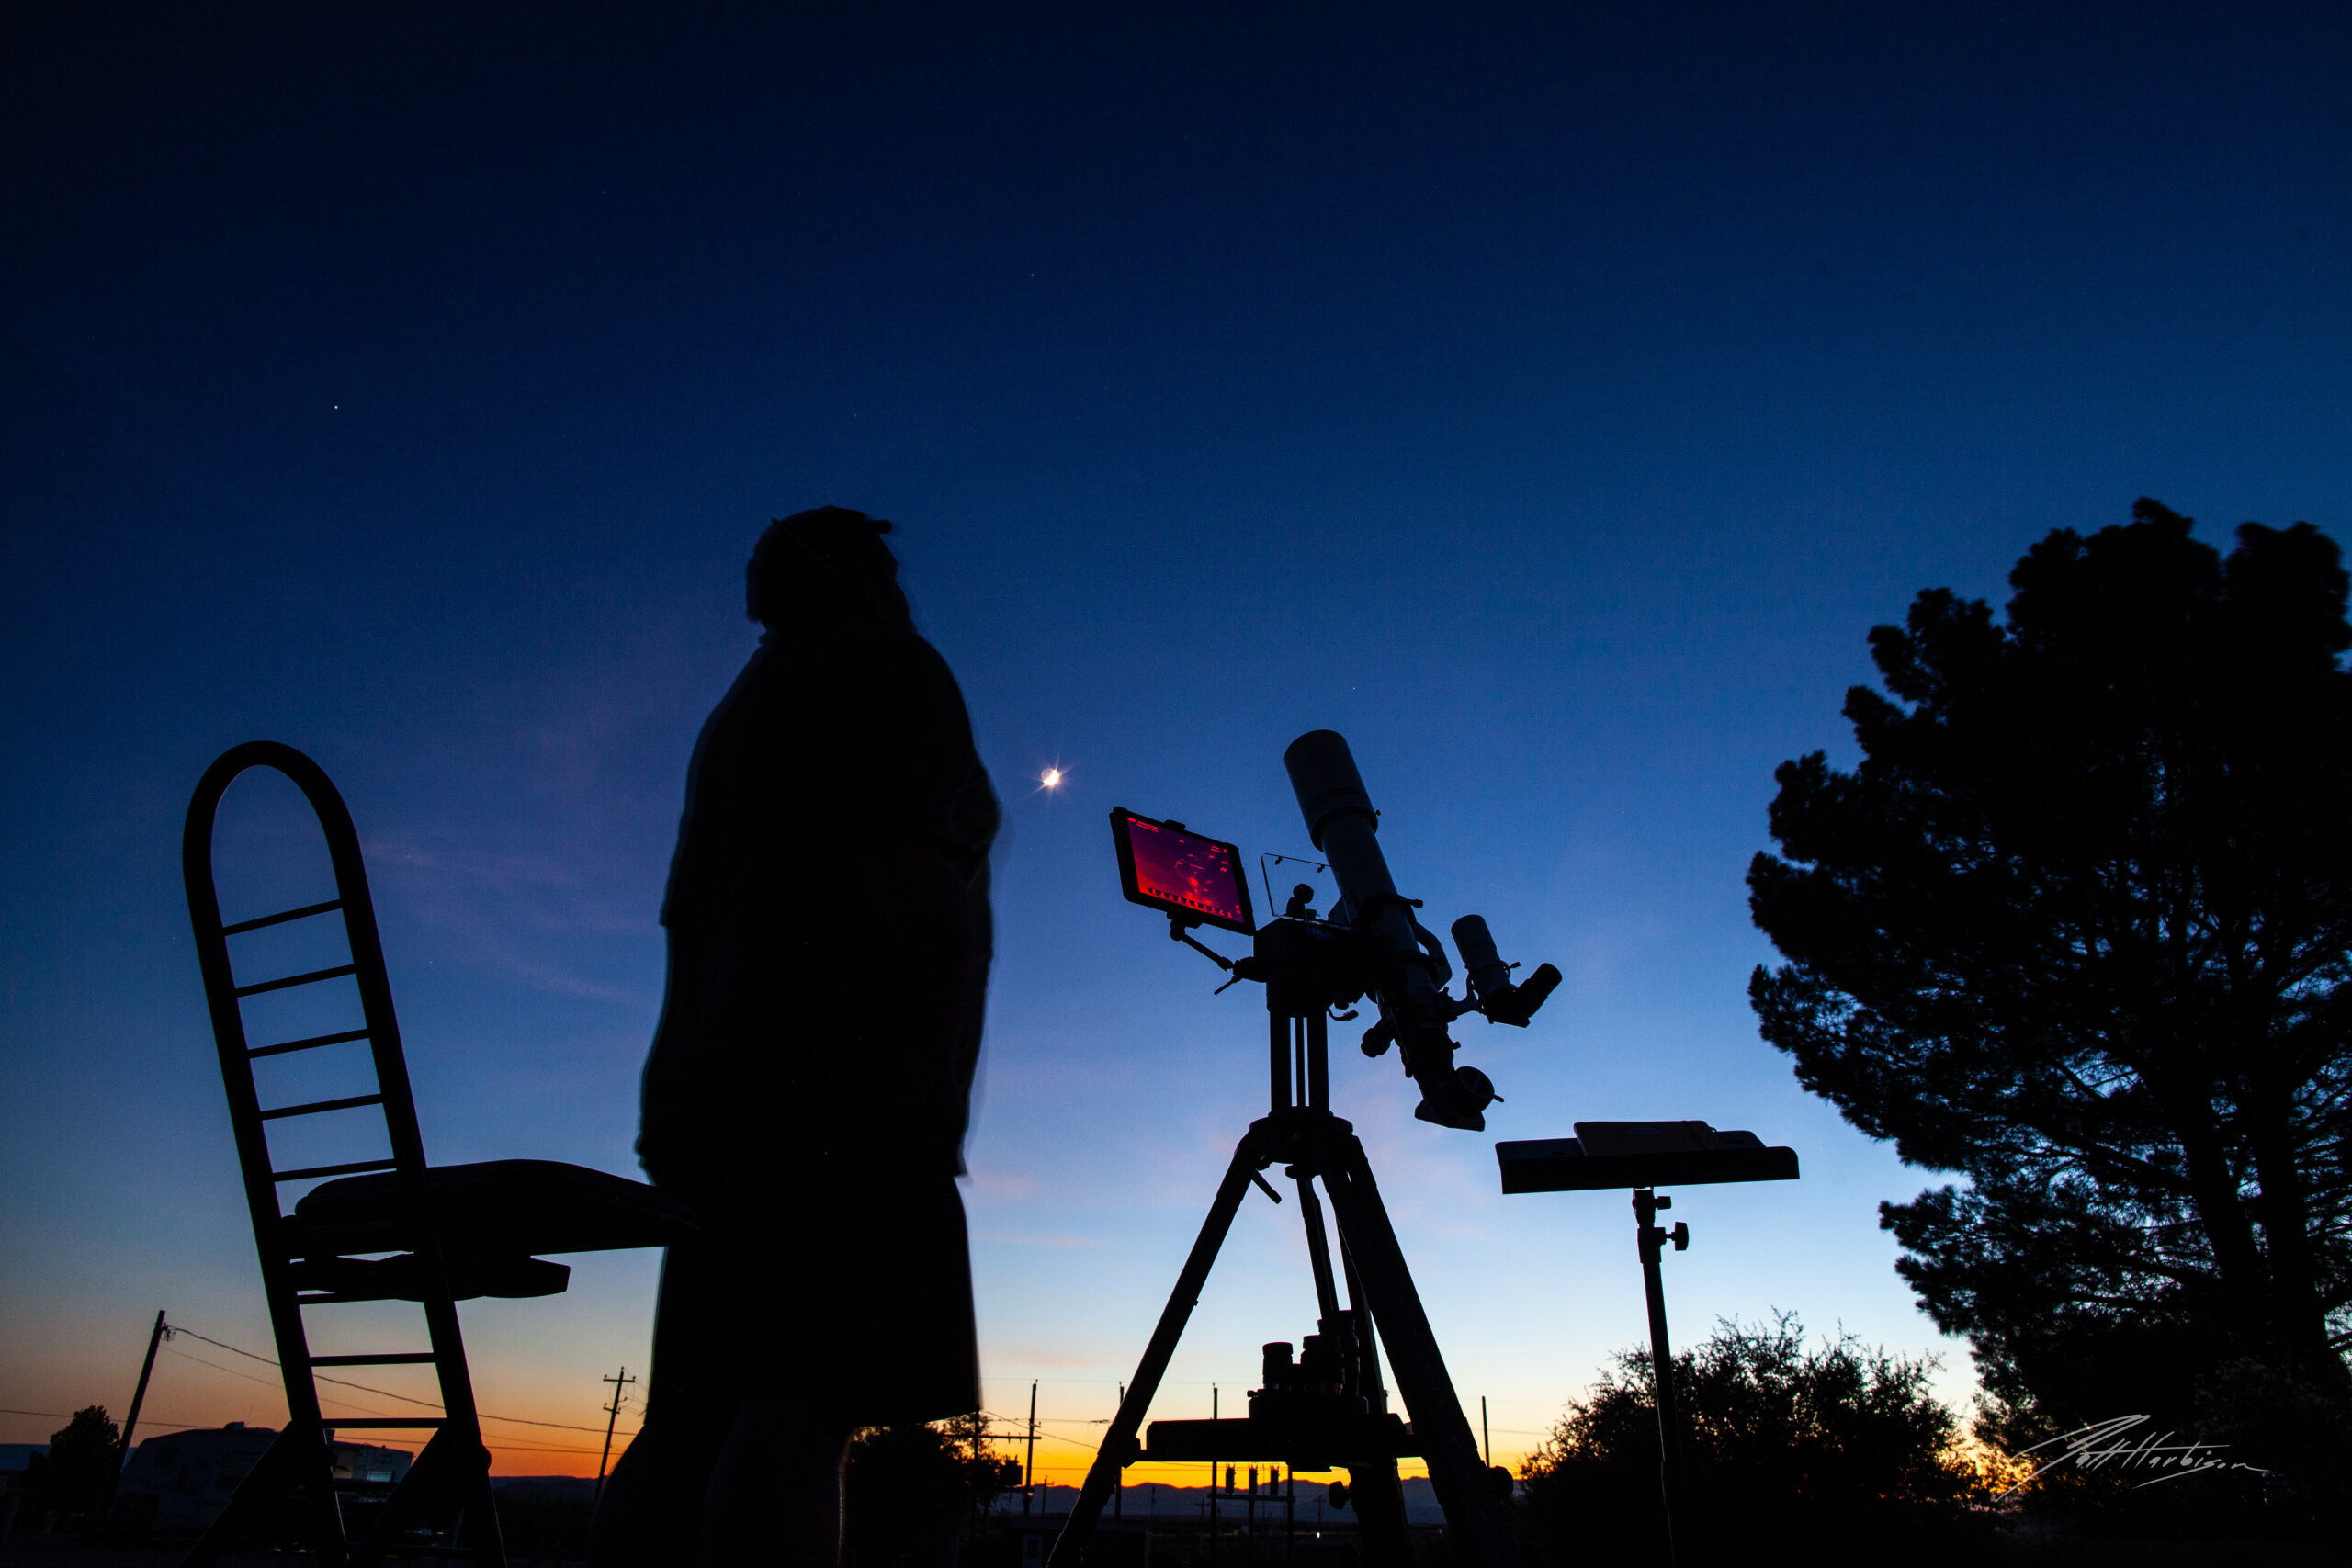
During the pandemic, I suspect many of us returned to our roots in astronomy. I spent countless nights out on the telescope during those weird and lonely days. Astronomy was a release from the craziness and uncertainly we found in our daily lives. So I set up two very nice visual setups- one that I could easily “grab and go” (a Vixen Porta II + Williams Optics 71 Zenithstar) and another setup for a night of observing, albeit a bit heavier and more involved to assemble (a 12” dob). Between these two systems, I bounced from star to star pouring over my different books and guides. I really didn’t understand what I was doing, other than satisfying my curiosity and slowly putting together “HOW” to do it properly.
A Few Personal Quirks about Visual Observing
Before I dive into the specifics of the Rowan AZ-100, let me explain some basics of astronomical observing mounts. For me, bouncing around the sky needs to be seamless. I much prefer slow and methodical glimpses with an ease of note taking so as not to take me out of the experience. Viewing a tight binary pair and sketching as I catalog the visible star field needs to be painless in my estimate. While I enjoyed my Porta II (and it was a feature of the Porta II that kept me coming back to it) there were several things I felt could be improved, and so I moved to a DiscMount (DM4). In the search for the ultimate alt/az, you would be hard pressed to find anything better. In my opinion the DM4 or 6 with encoders is a perfect mount with one caveat, and that caveat is what led me to the Rowan AZ100 -slow motion controls. More about that in a second.
Quickly, I want to explain the difference between an alt/az mount and a German equatorial mount. To put it simply, the alt/az mount sits at any declination, but more often than not, at exactly zero degrees declination- or the level plain in relation to the observer. In this manner, any movement of the alt/az mount will simply be left, right, up, and down. An Equatorial Mount or GEM (German Equatorial Mount) tracks the sky by aligning it’s declination to the celestial pole, hence the term polar alignment. Once a GEM is aligned to Polaris, it’s movements mimic the celestial sphere of the sky. This is why most people do astrophotography with a GEM instead of an alt/az.
Down to Business- The Rowan AZ100
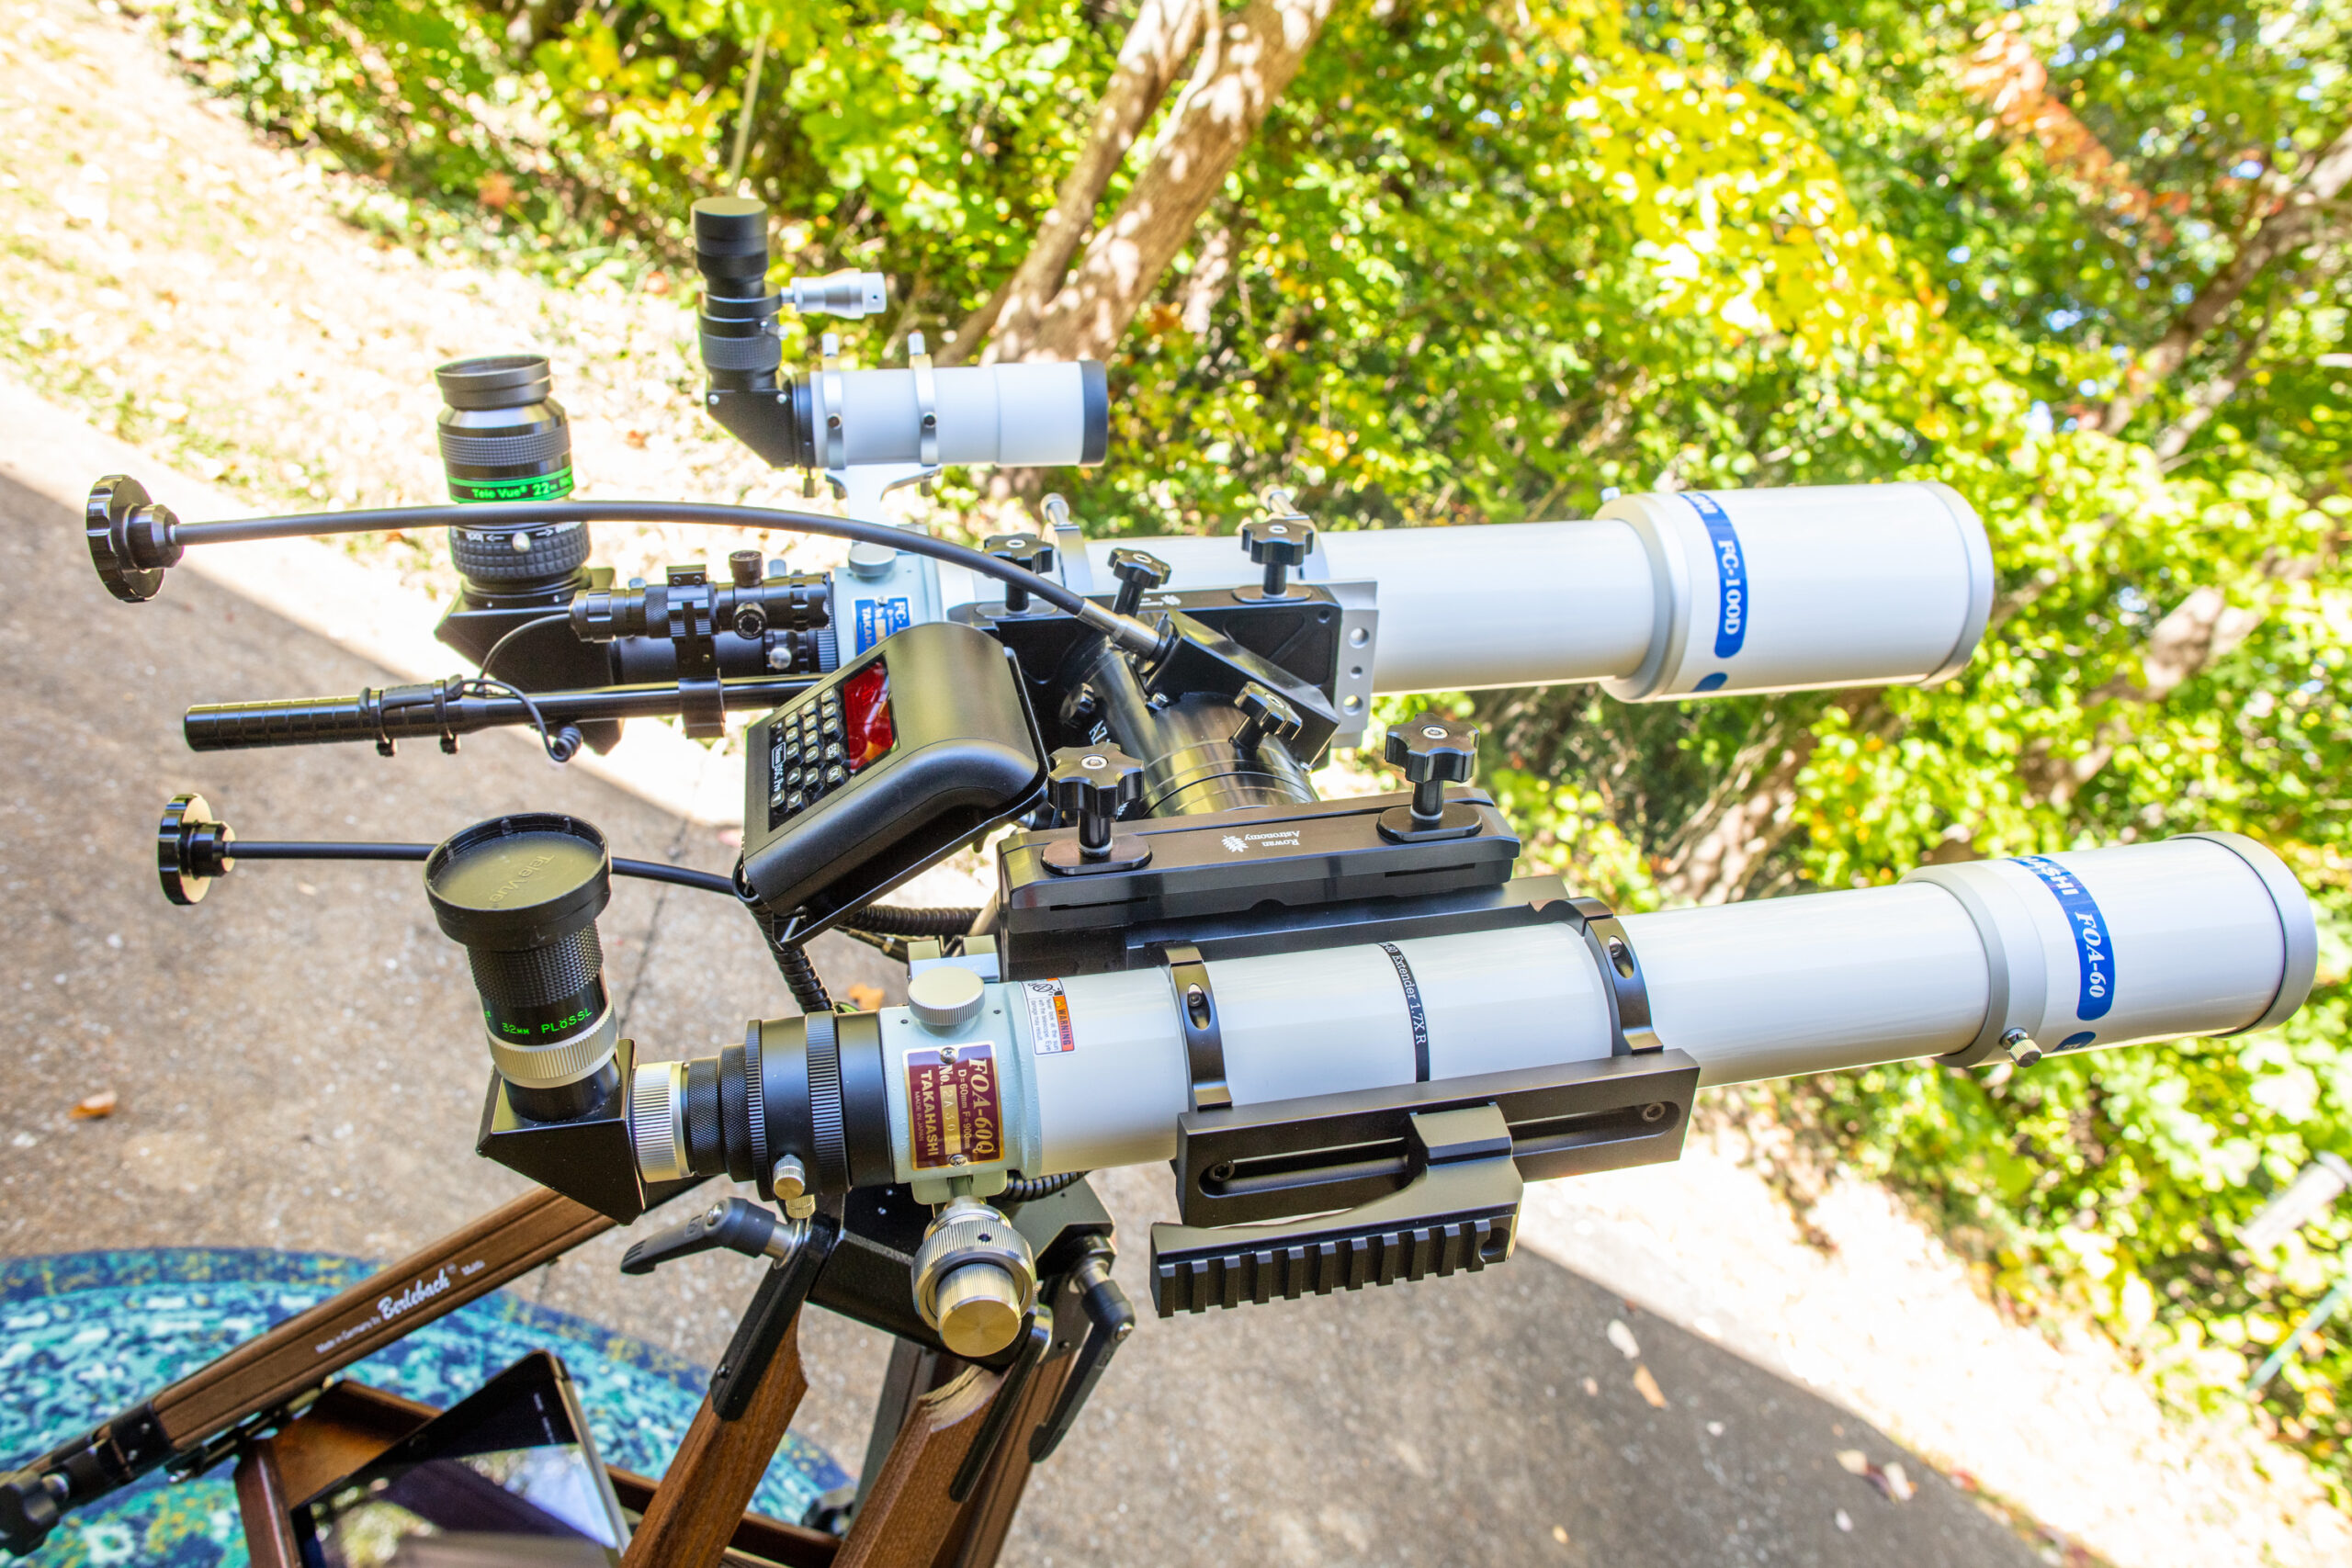
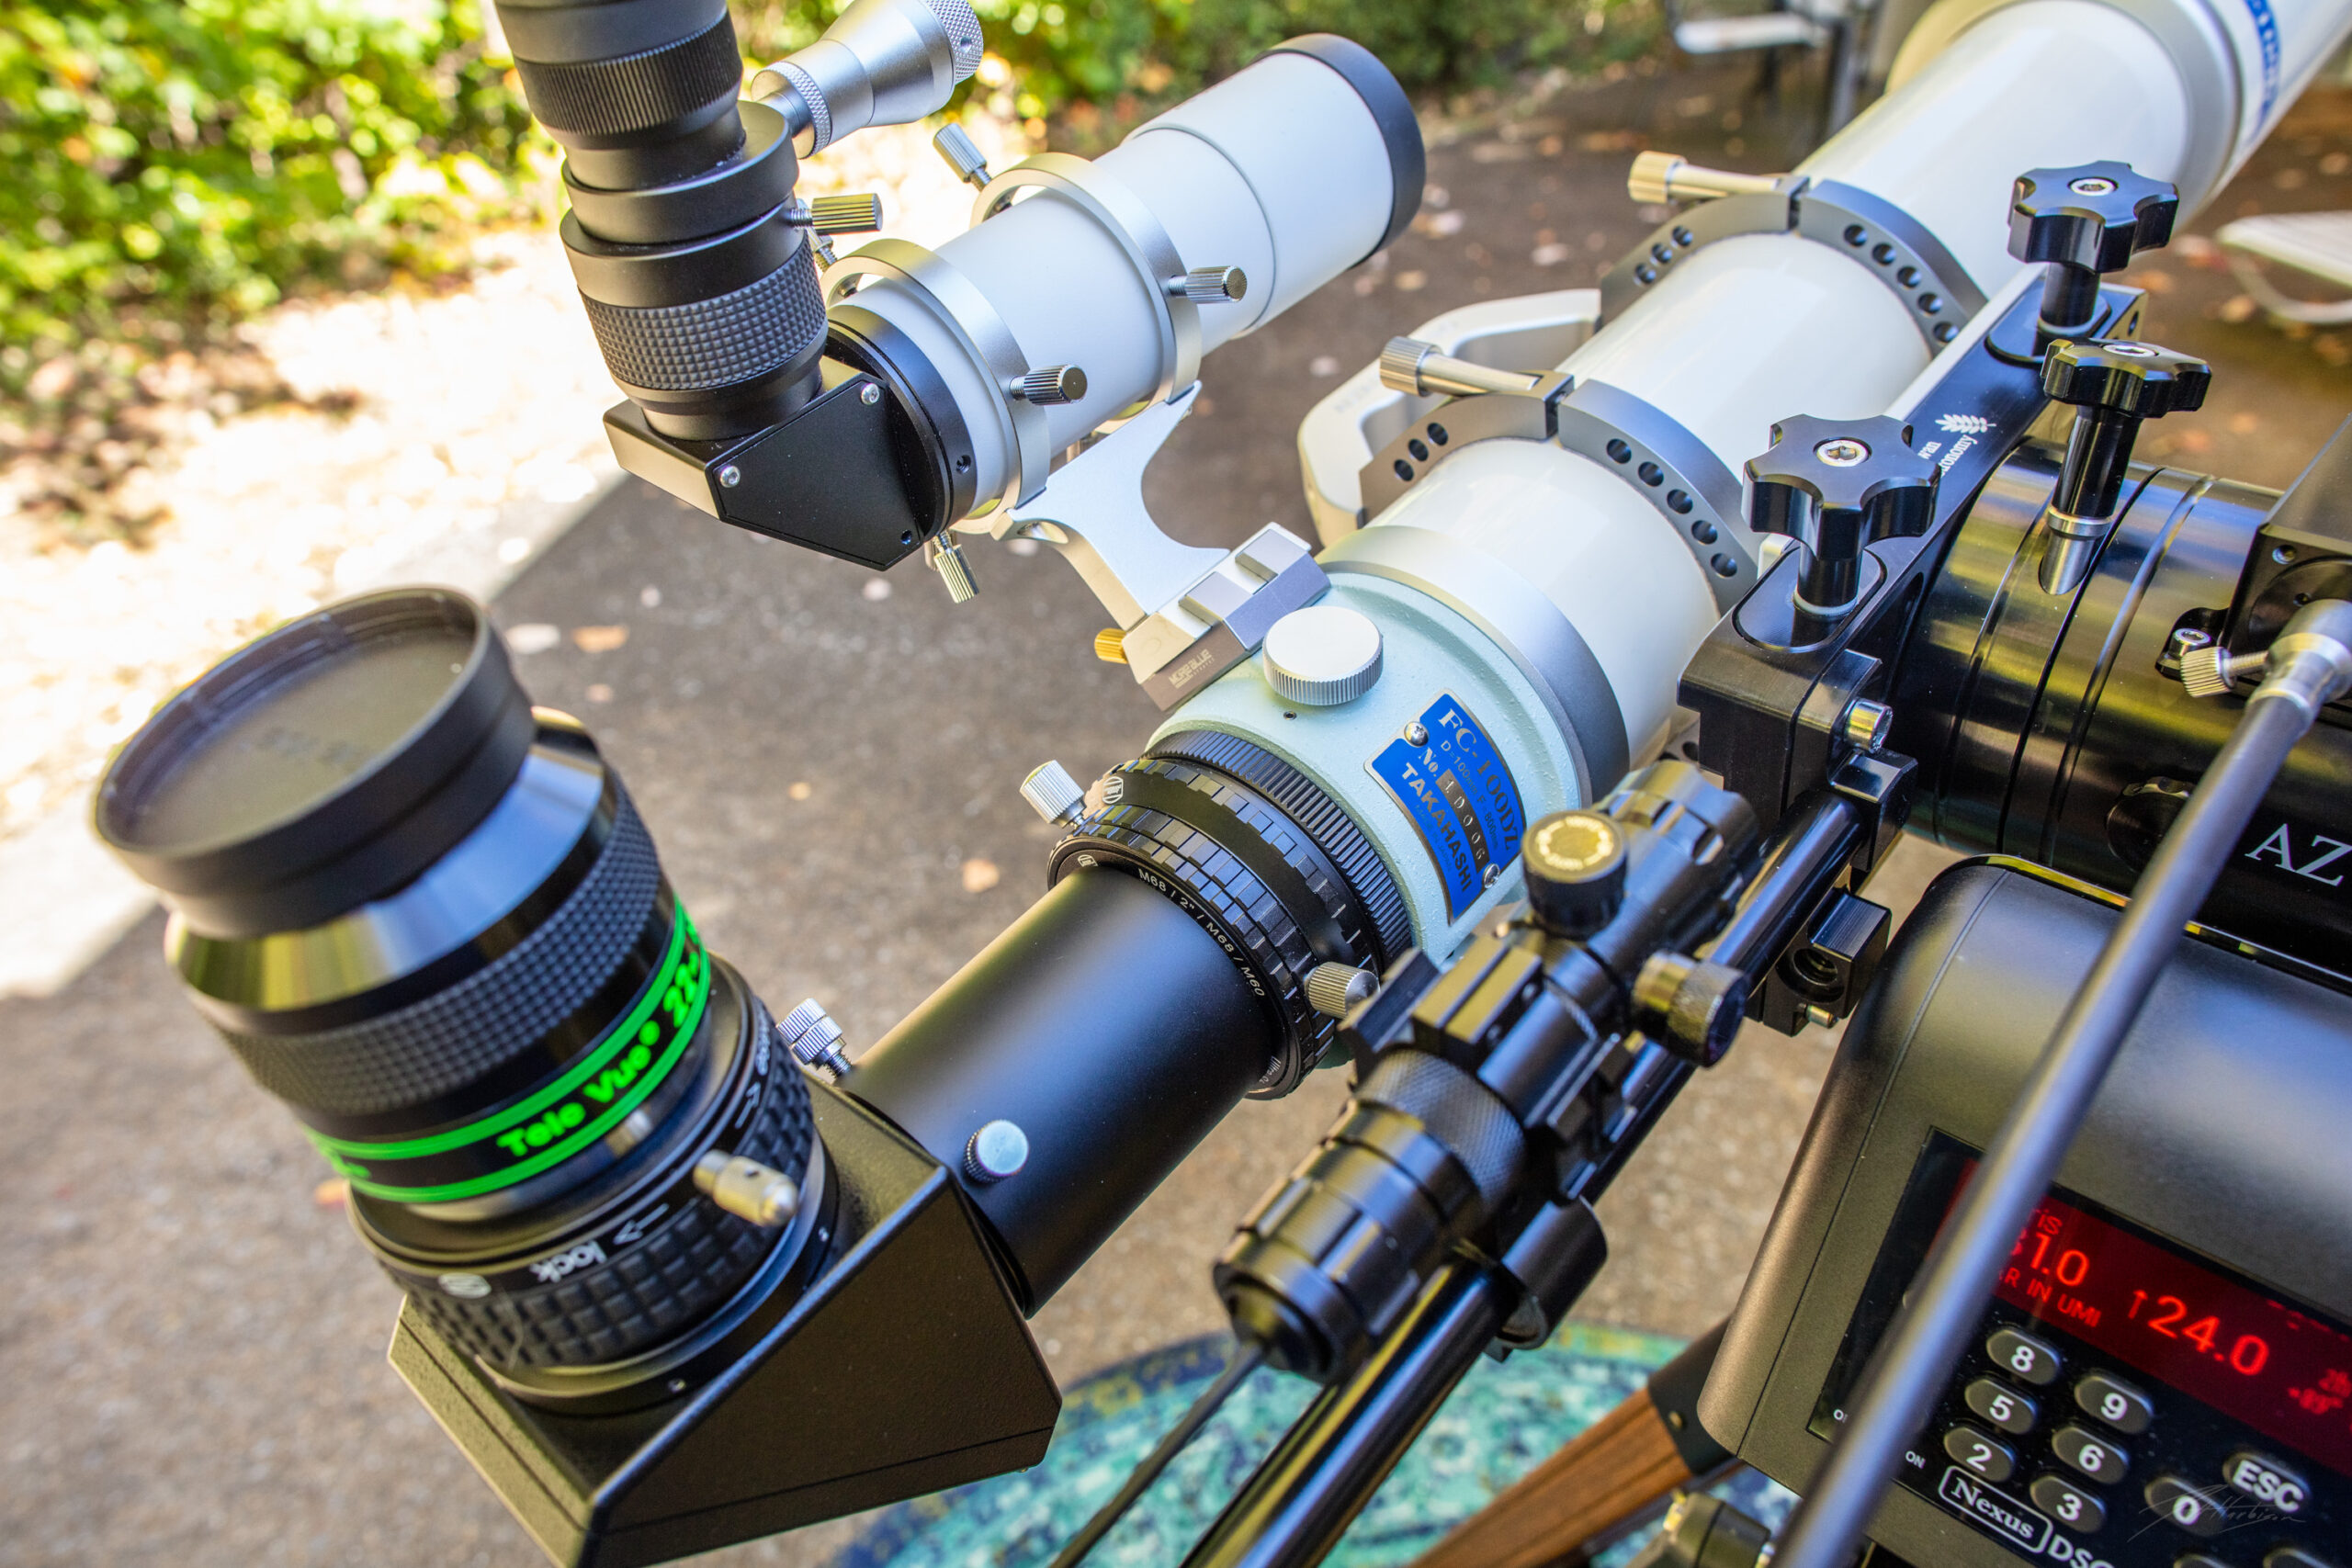
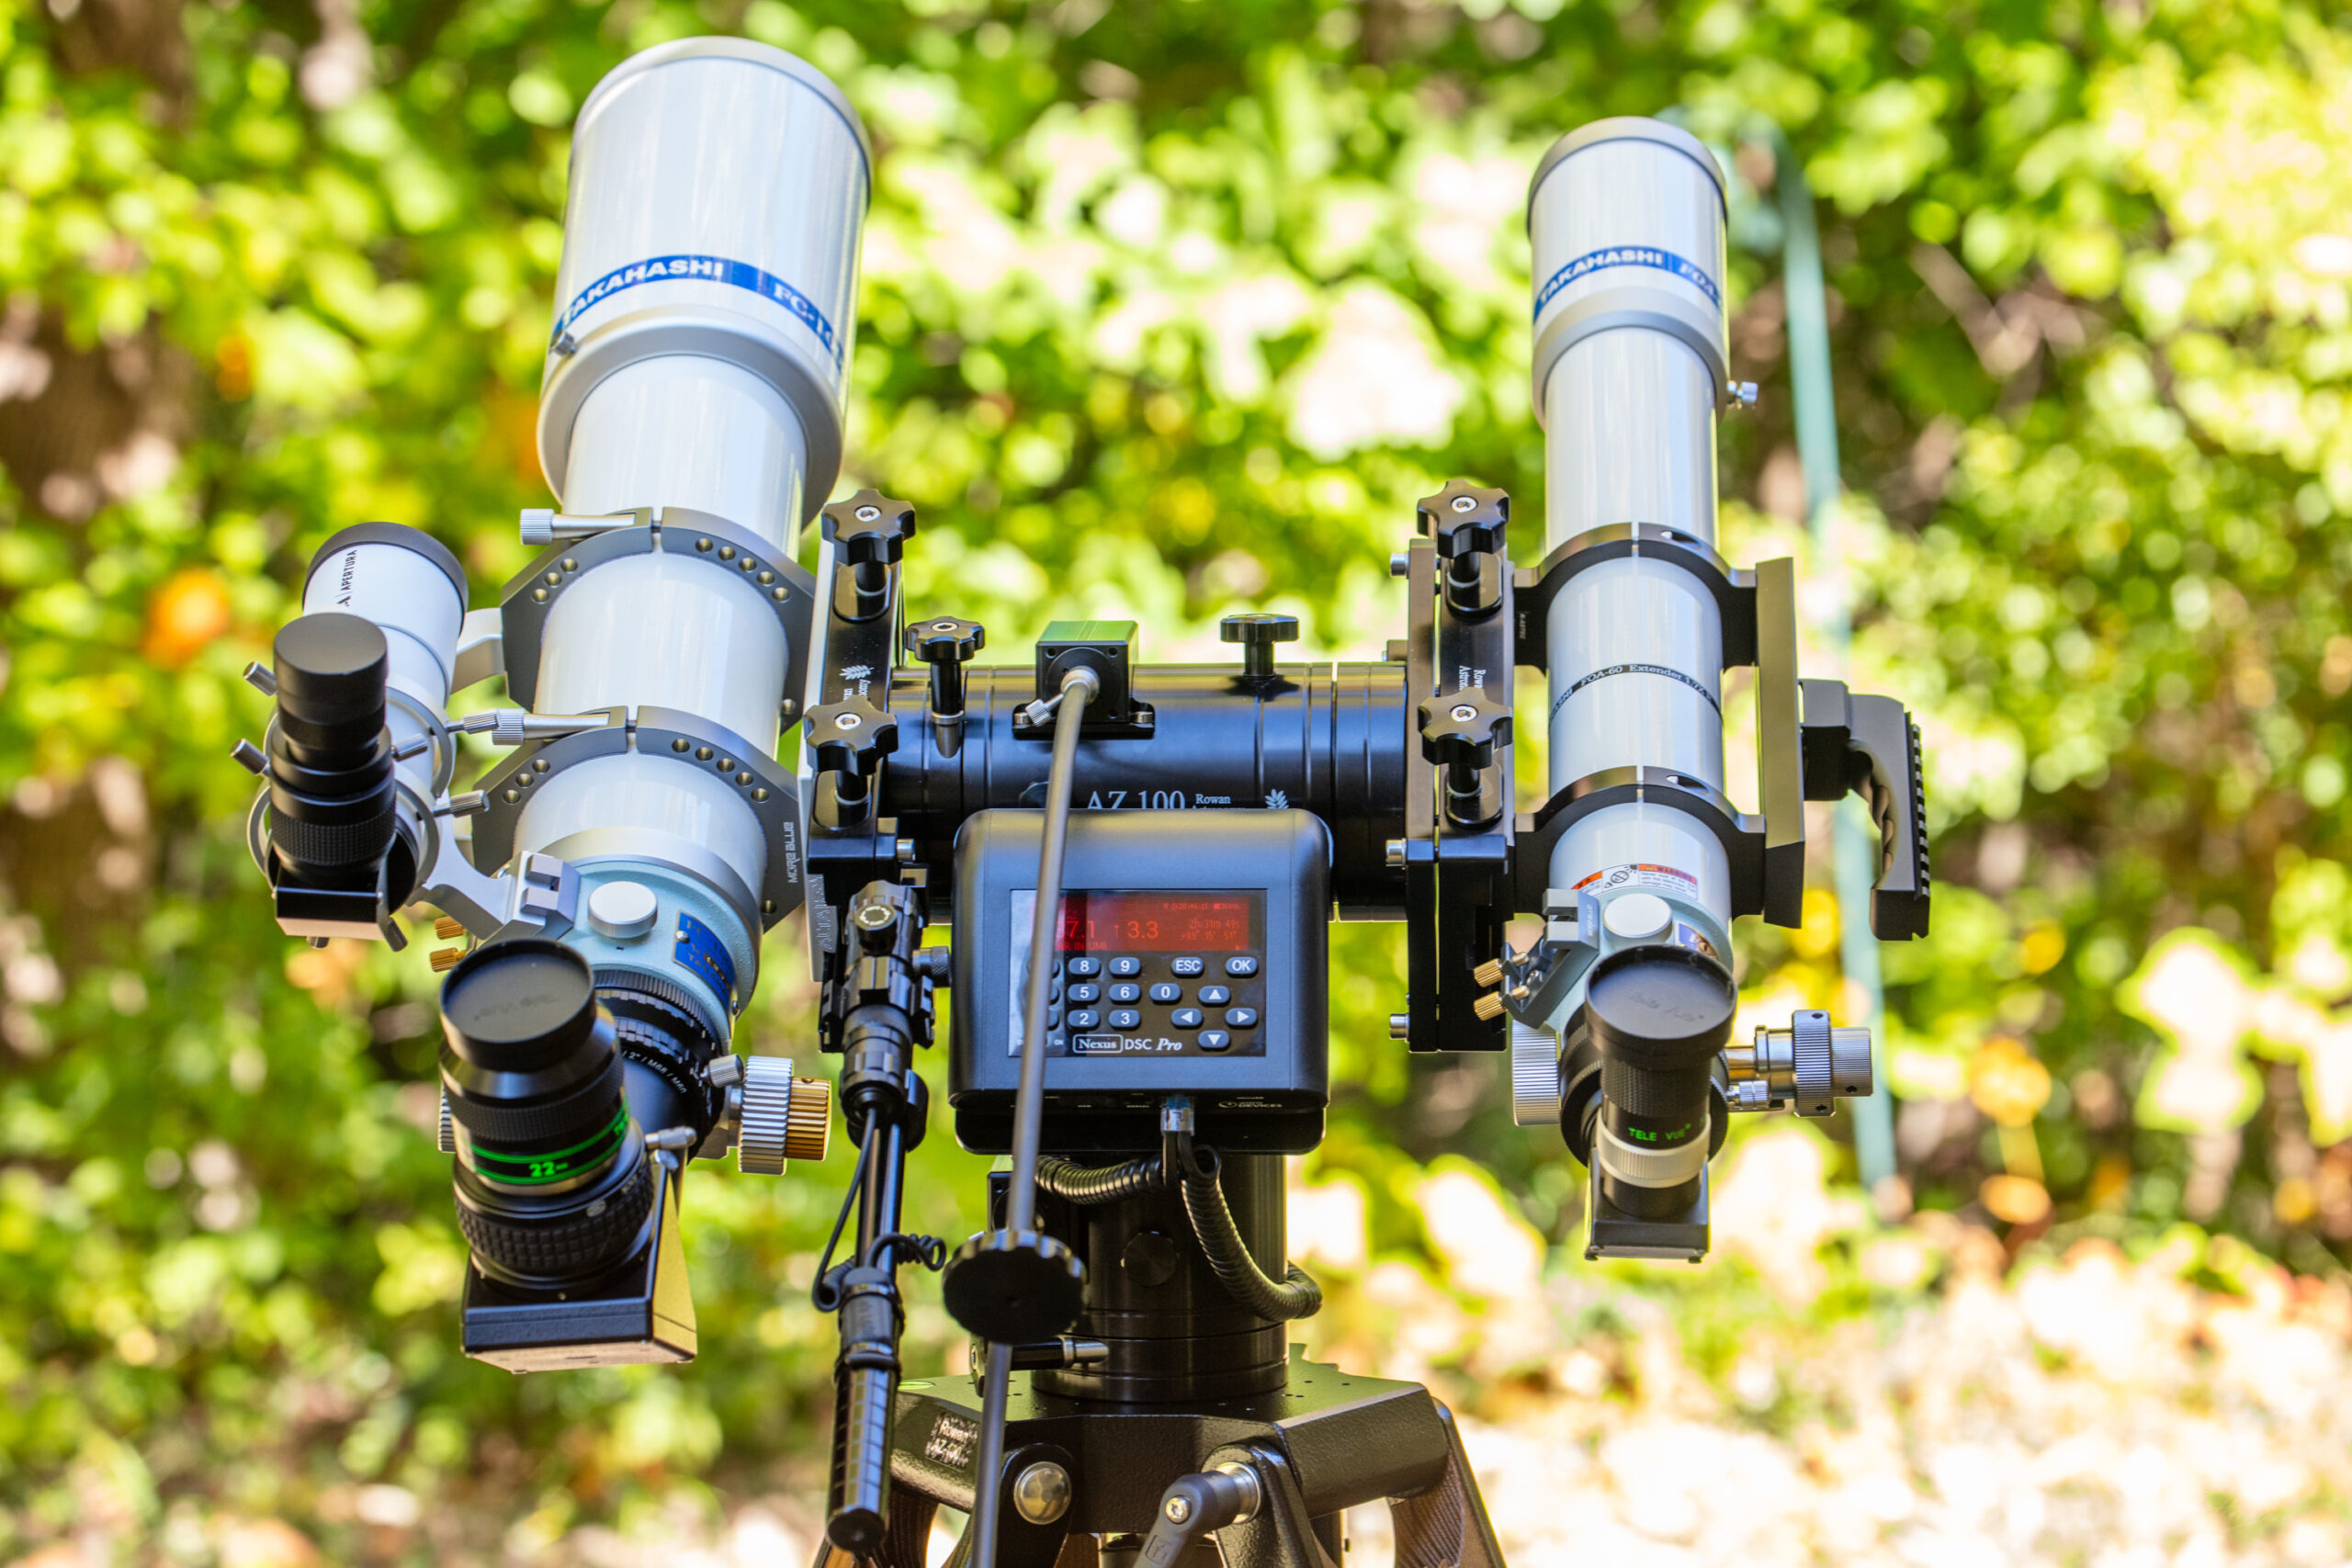
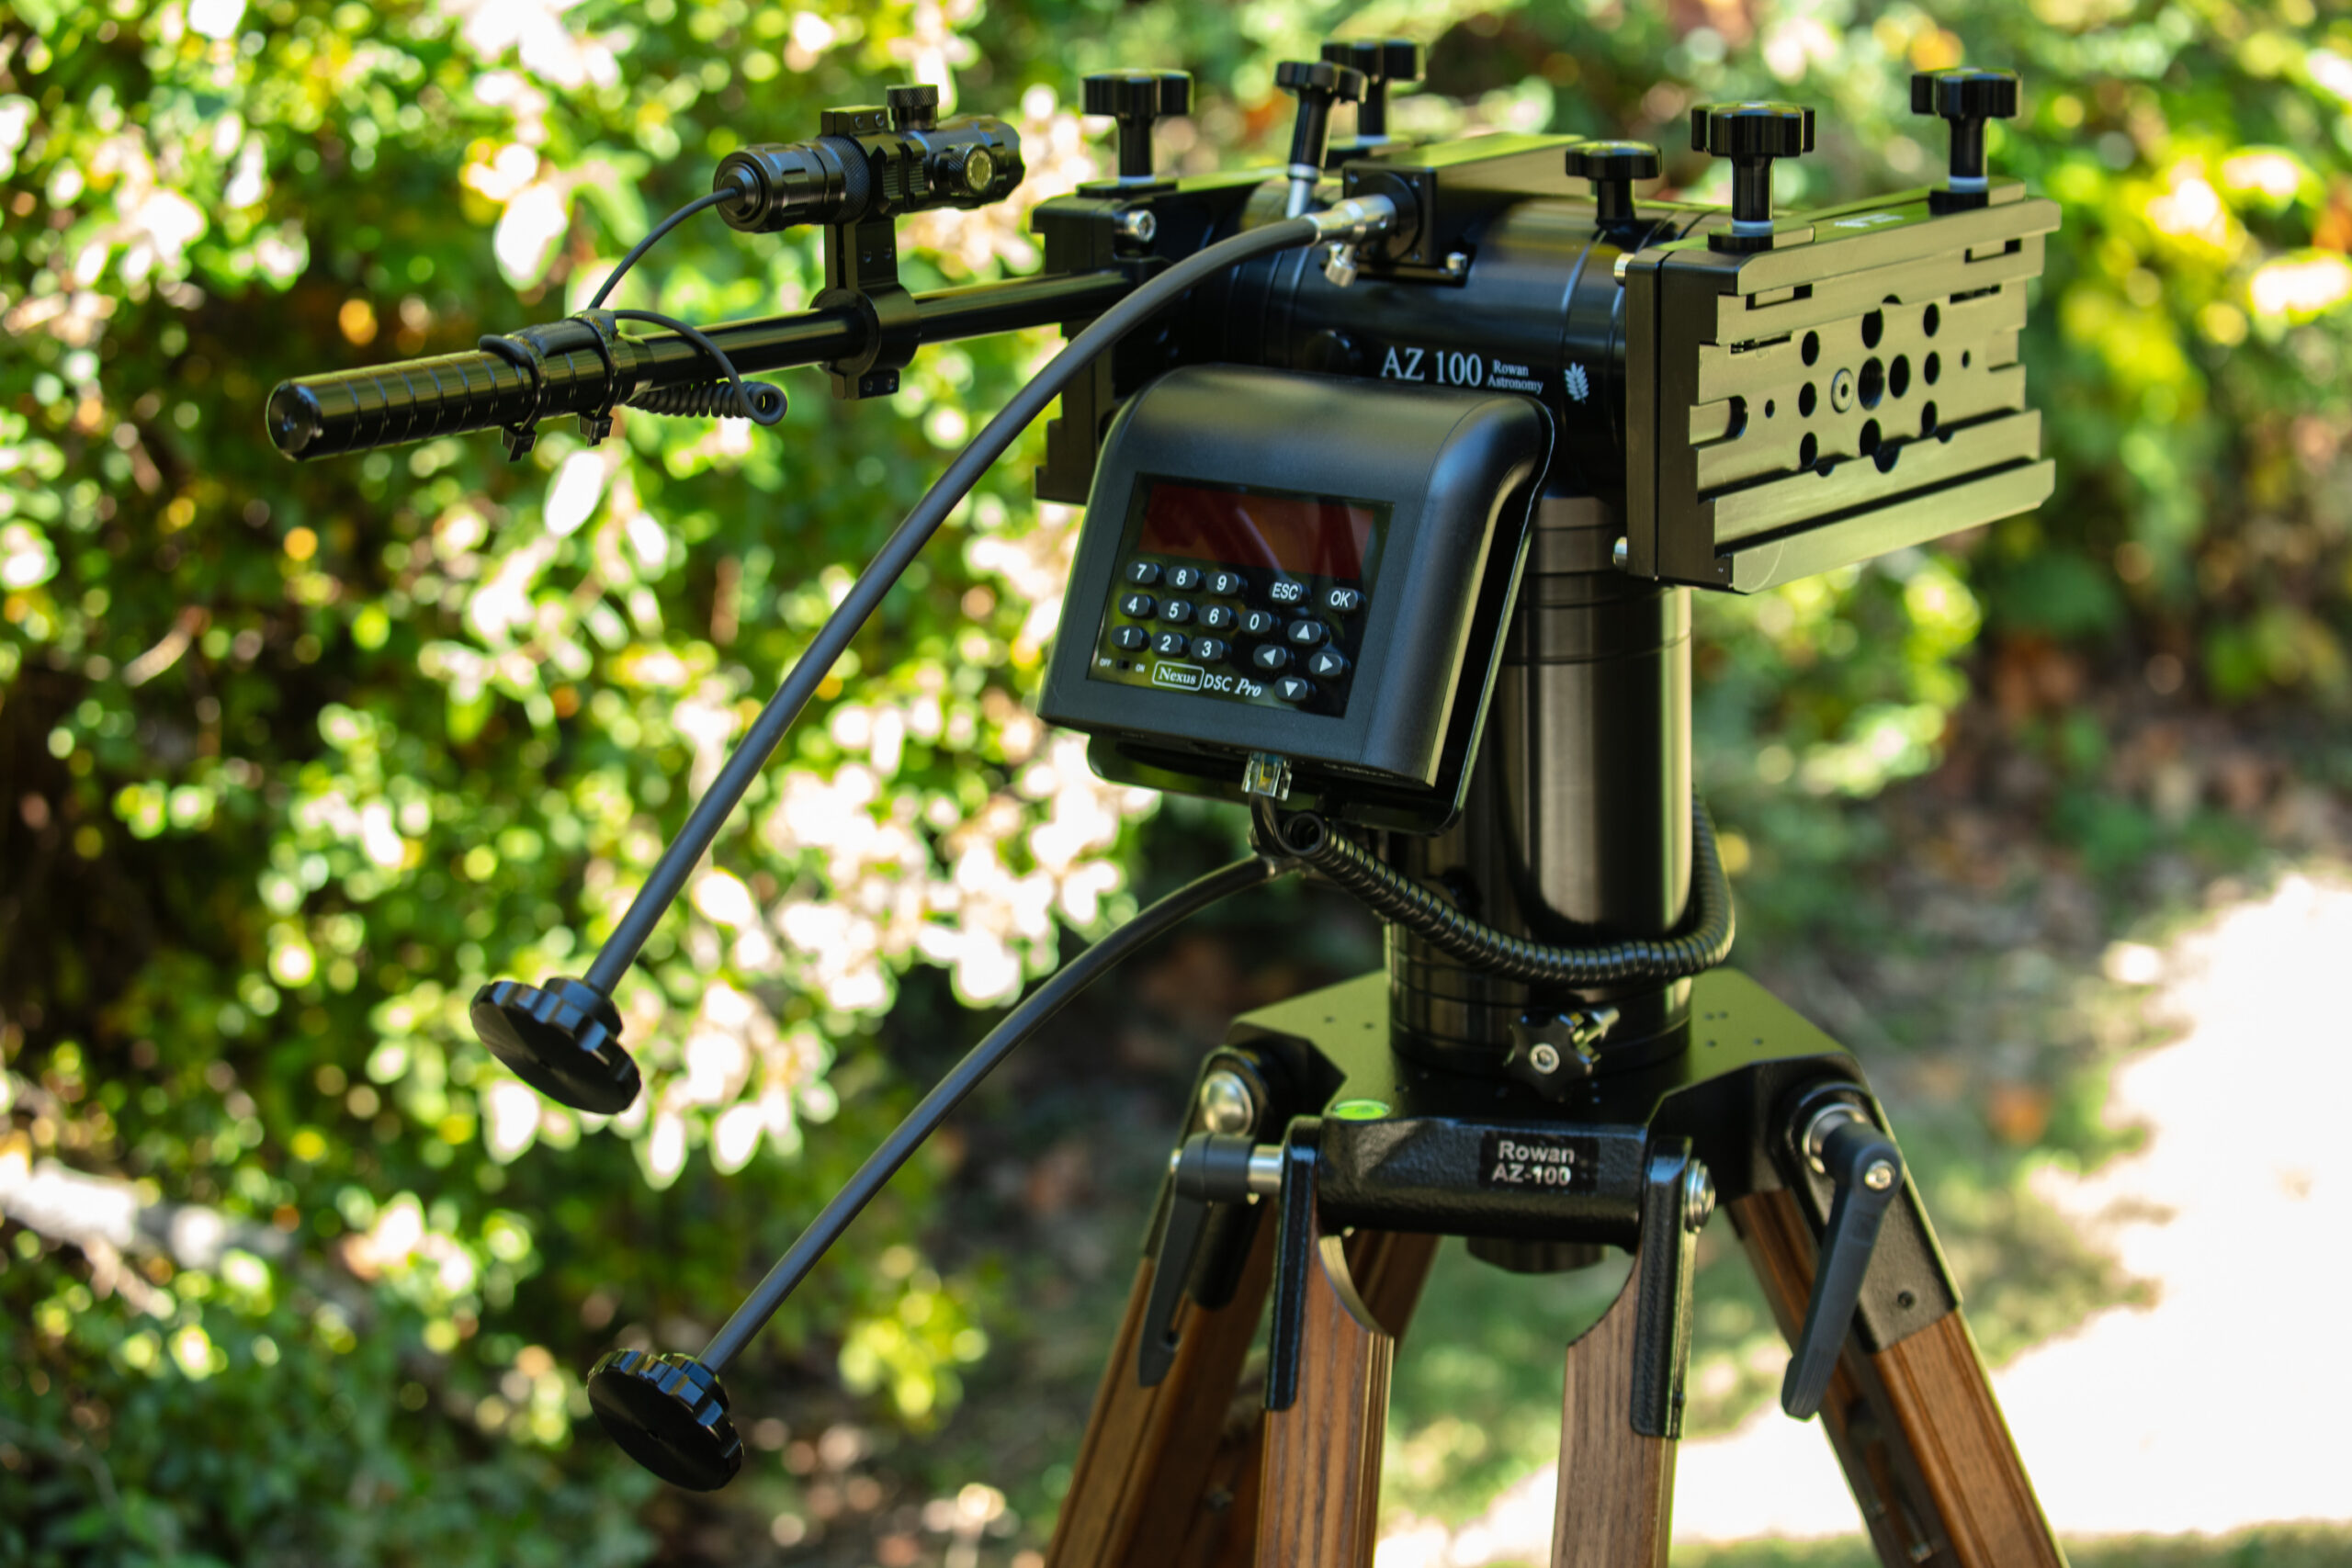
And so the point of this article is the ULTIMATE alt/az mount in observing astronomy. Is that the Rowan AZ100? For me, it certainly seems so! This mount exudes quality. Make no mistake, it’s among the most amazing pieces of astronomical equipment I’ve ever purchased, and I also own Takahashi telescopes and Astro-Physics mounts. From the almost soft edges of the machined housing, to the fluid movements of its axes, the user immediately understands the precision this mount will afford them. It also becomes apparent just how important the mounting and transportation of this mount will become, which I will touch on.
Fit and Finish
The machined housing almost feels “SOFT” to the touch because of its precise machining. It’s also a nice inky black anodization which somehow increases its appeal. From the dual connection saddles to the threaded handle for easy movements, the build quality is fantastic. One thing I found extremely helpful were the several mounting attachments provided at the front and rear of the mount. A single 1/4-20 attachment and two other threaded holes. All threads start easily and lock sufficiently. I plan to order some telescopic arms to hold my iPad for Sky Safari. Its hard to imagine this mount being improved upon from a fit and finish standpoint.
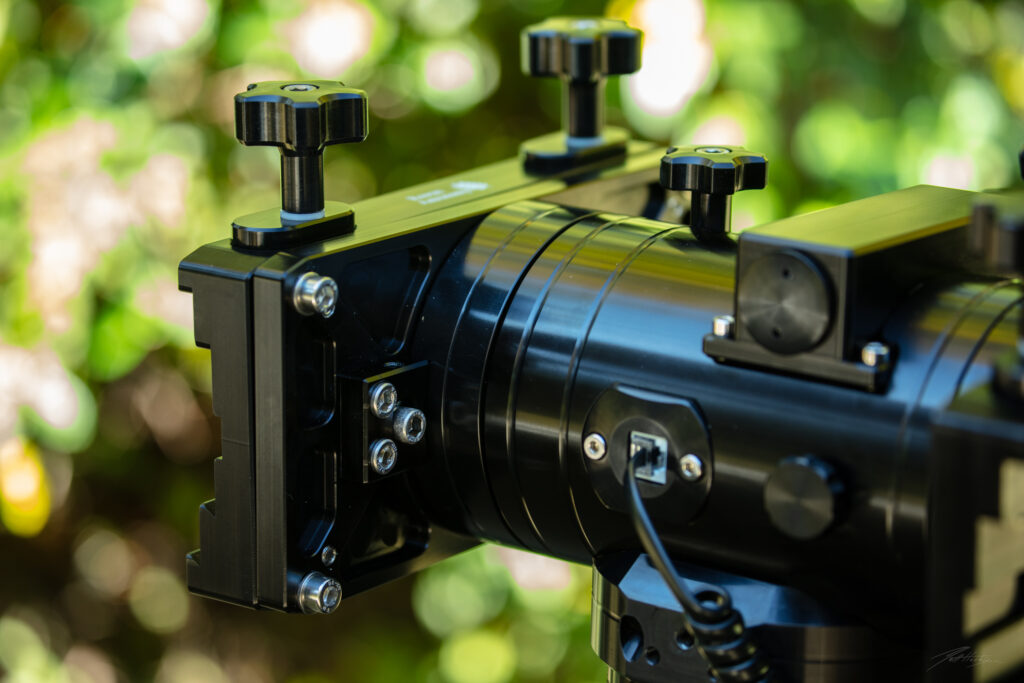
Form and Function
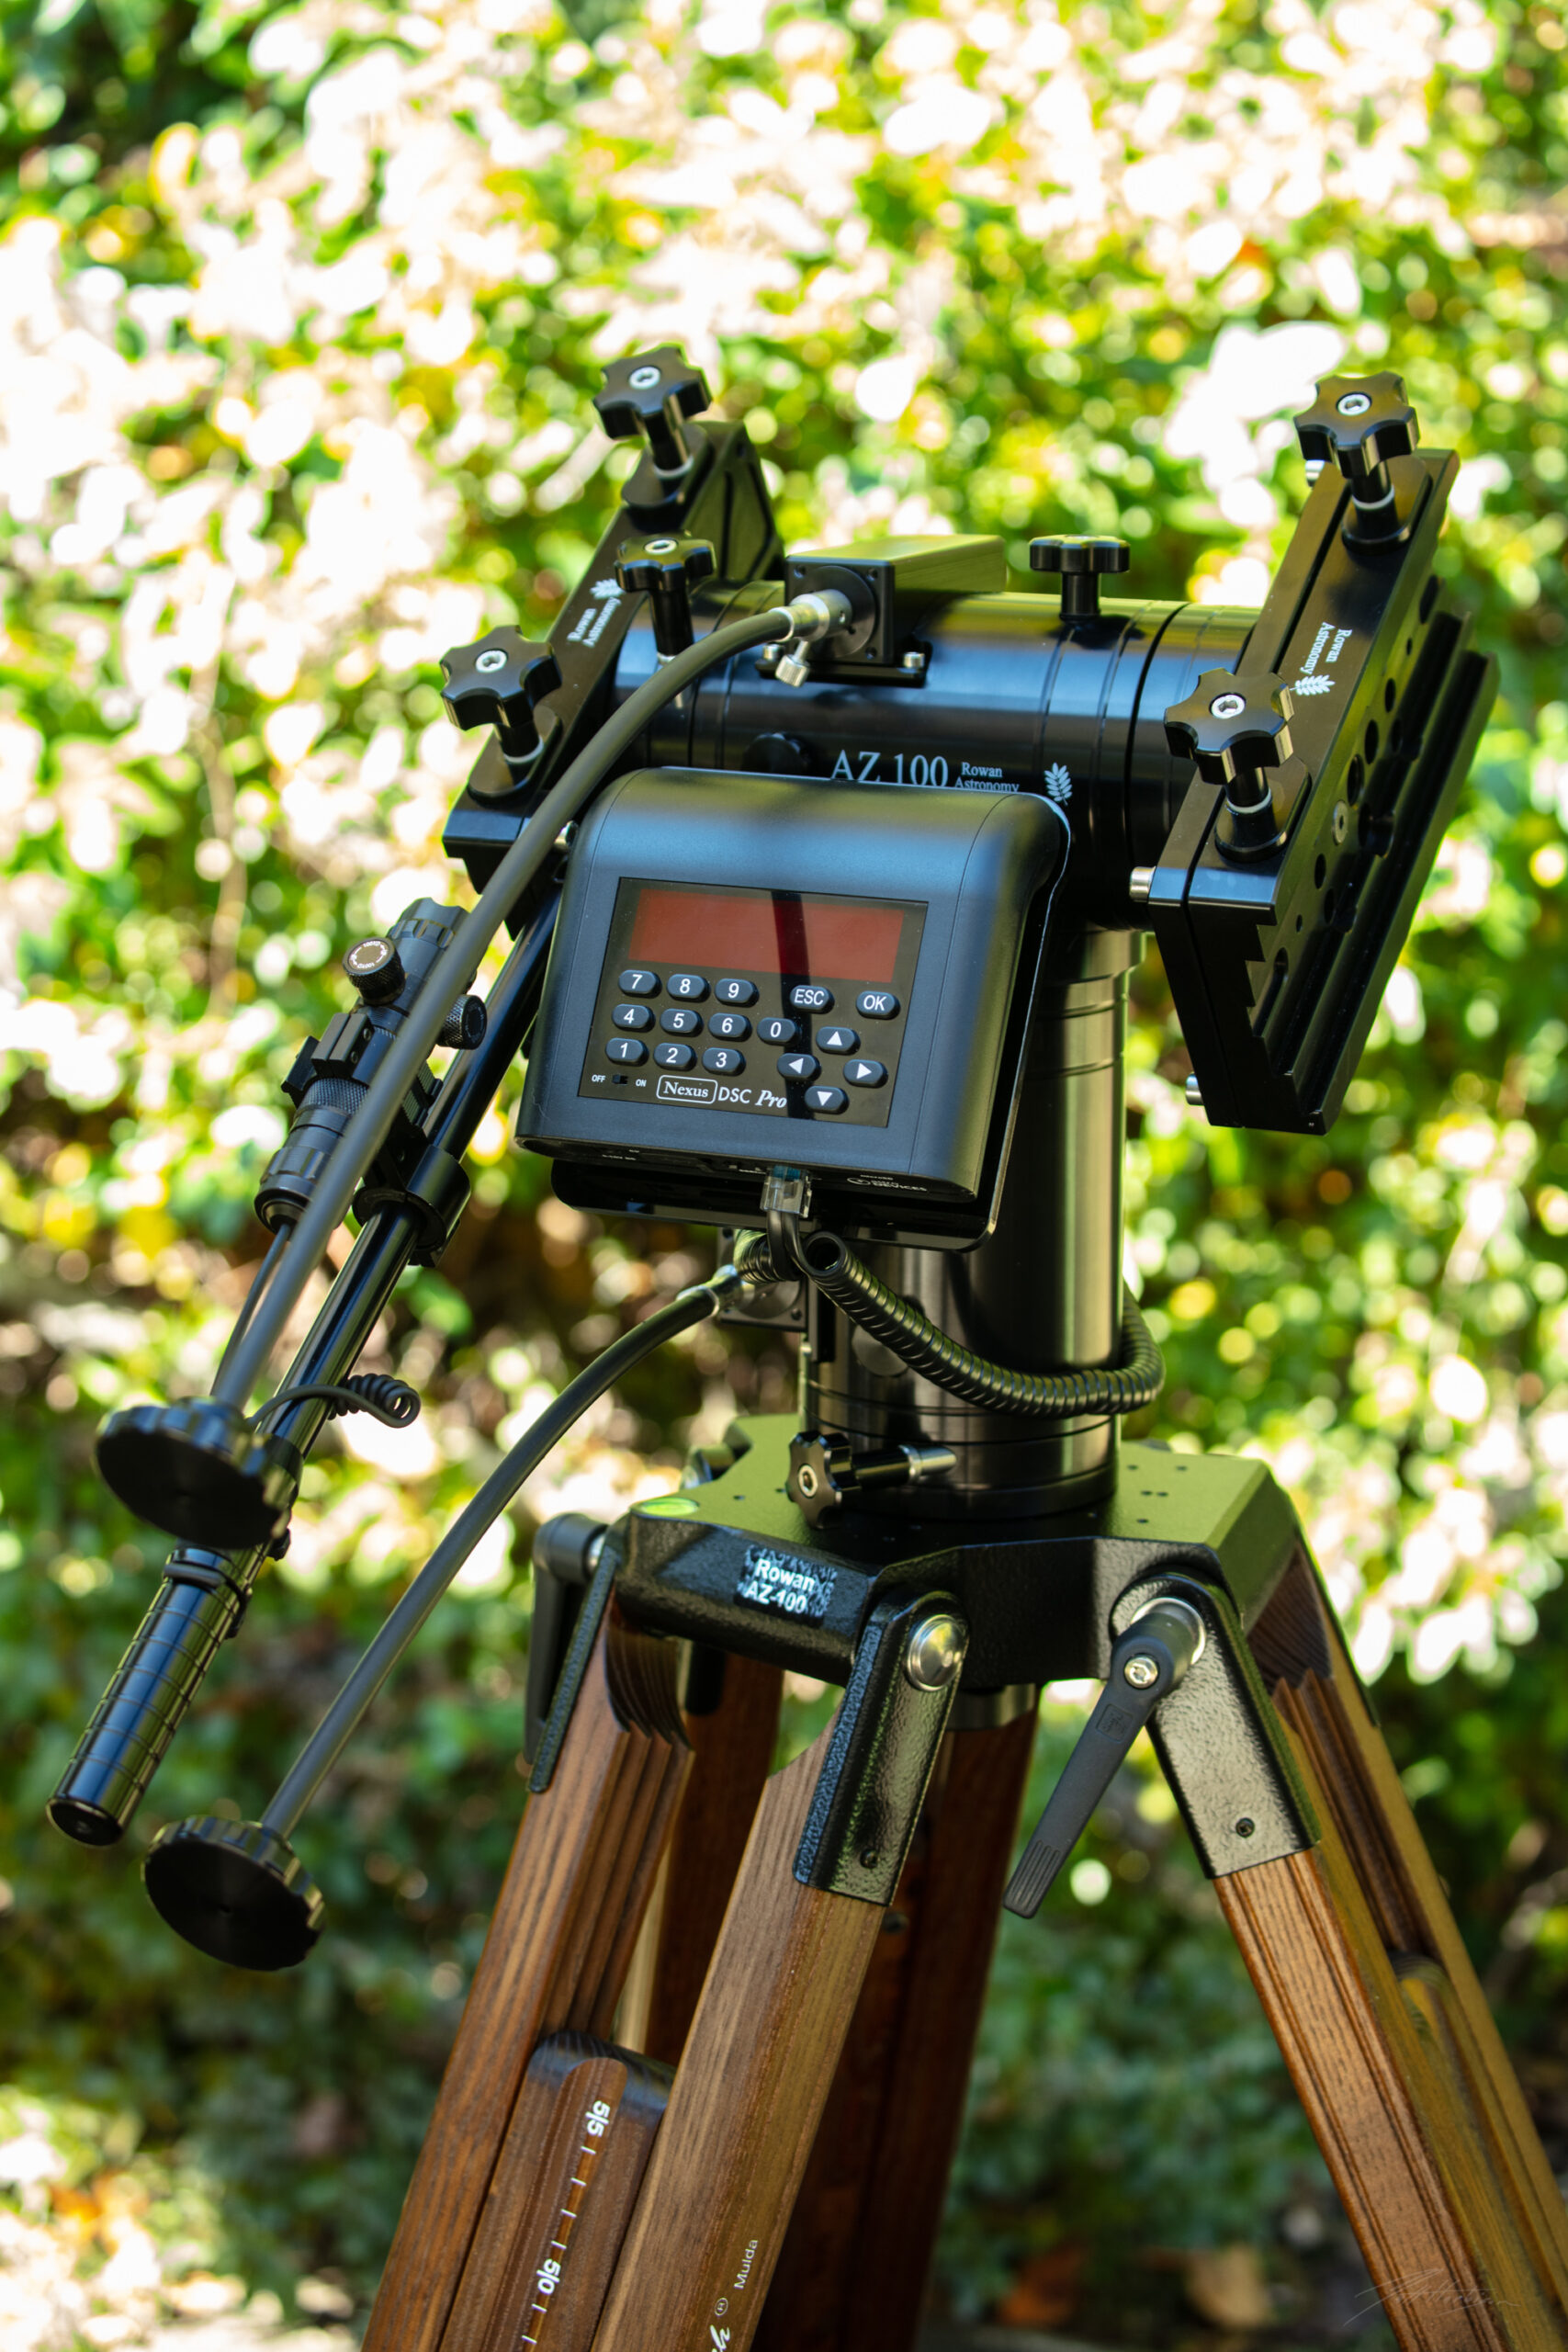
It’s evident that the level of precision present in this mount is astronomical -no pun intended. The axes turn simply and effortlessly with the aid of a clutch knob and a separate brake knob to provide the necessary and desired resistance. The Rowan team really outdid themselves with the design of this mount, presenting the slow motion controls directly between the observer and the scope. Never have I used slow motion controls as intuitive as these- AND- slow motion controls are the one caveat I mentioned earlier that I missed on my DM4. Had the DM4 had slow motion controls, I don’t think I would have moved to the Rowan AZ100. Of course, now that I have, I am reminded of JUST how important they are for an alt/az mount. I personally did not desire the motor option, but the addition of tracking will no doubt make this THE alt//az solution for the observational astronomy world.

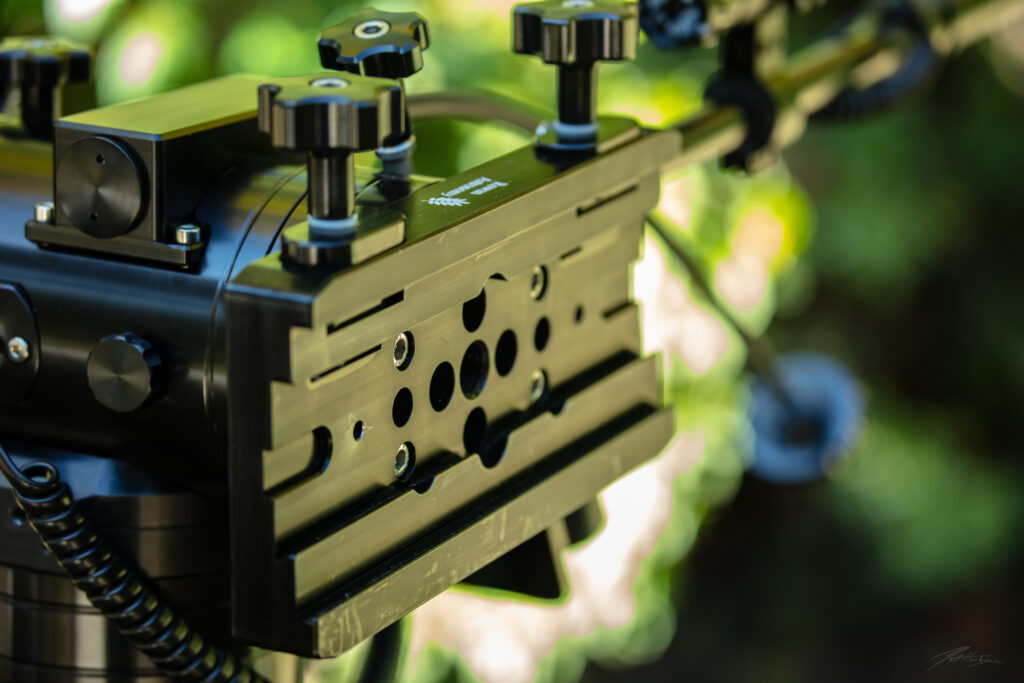
Connection Points
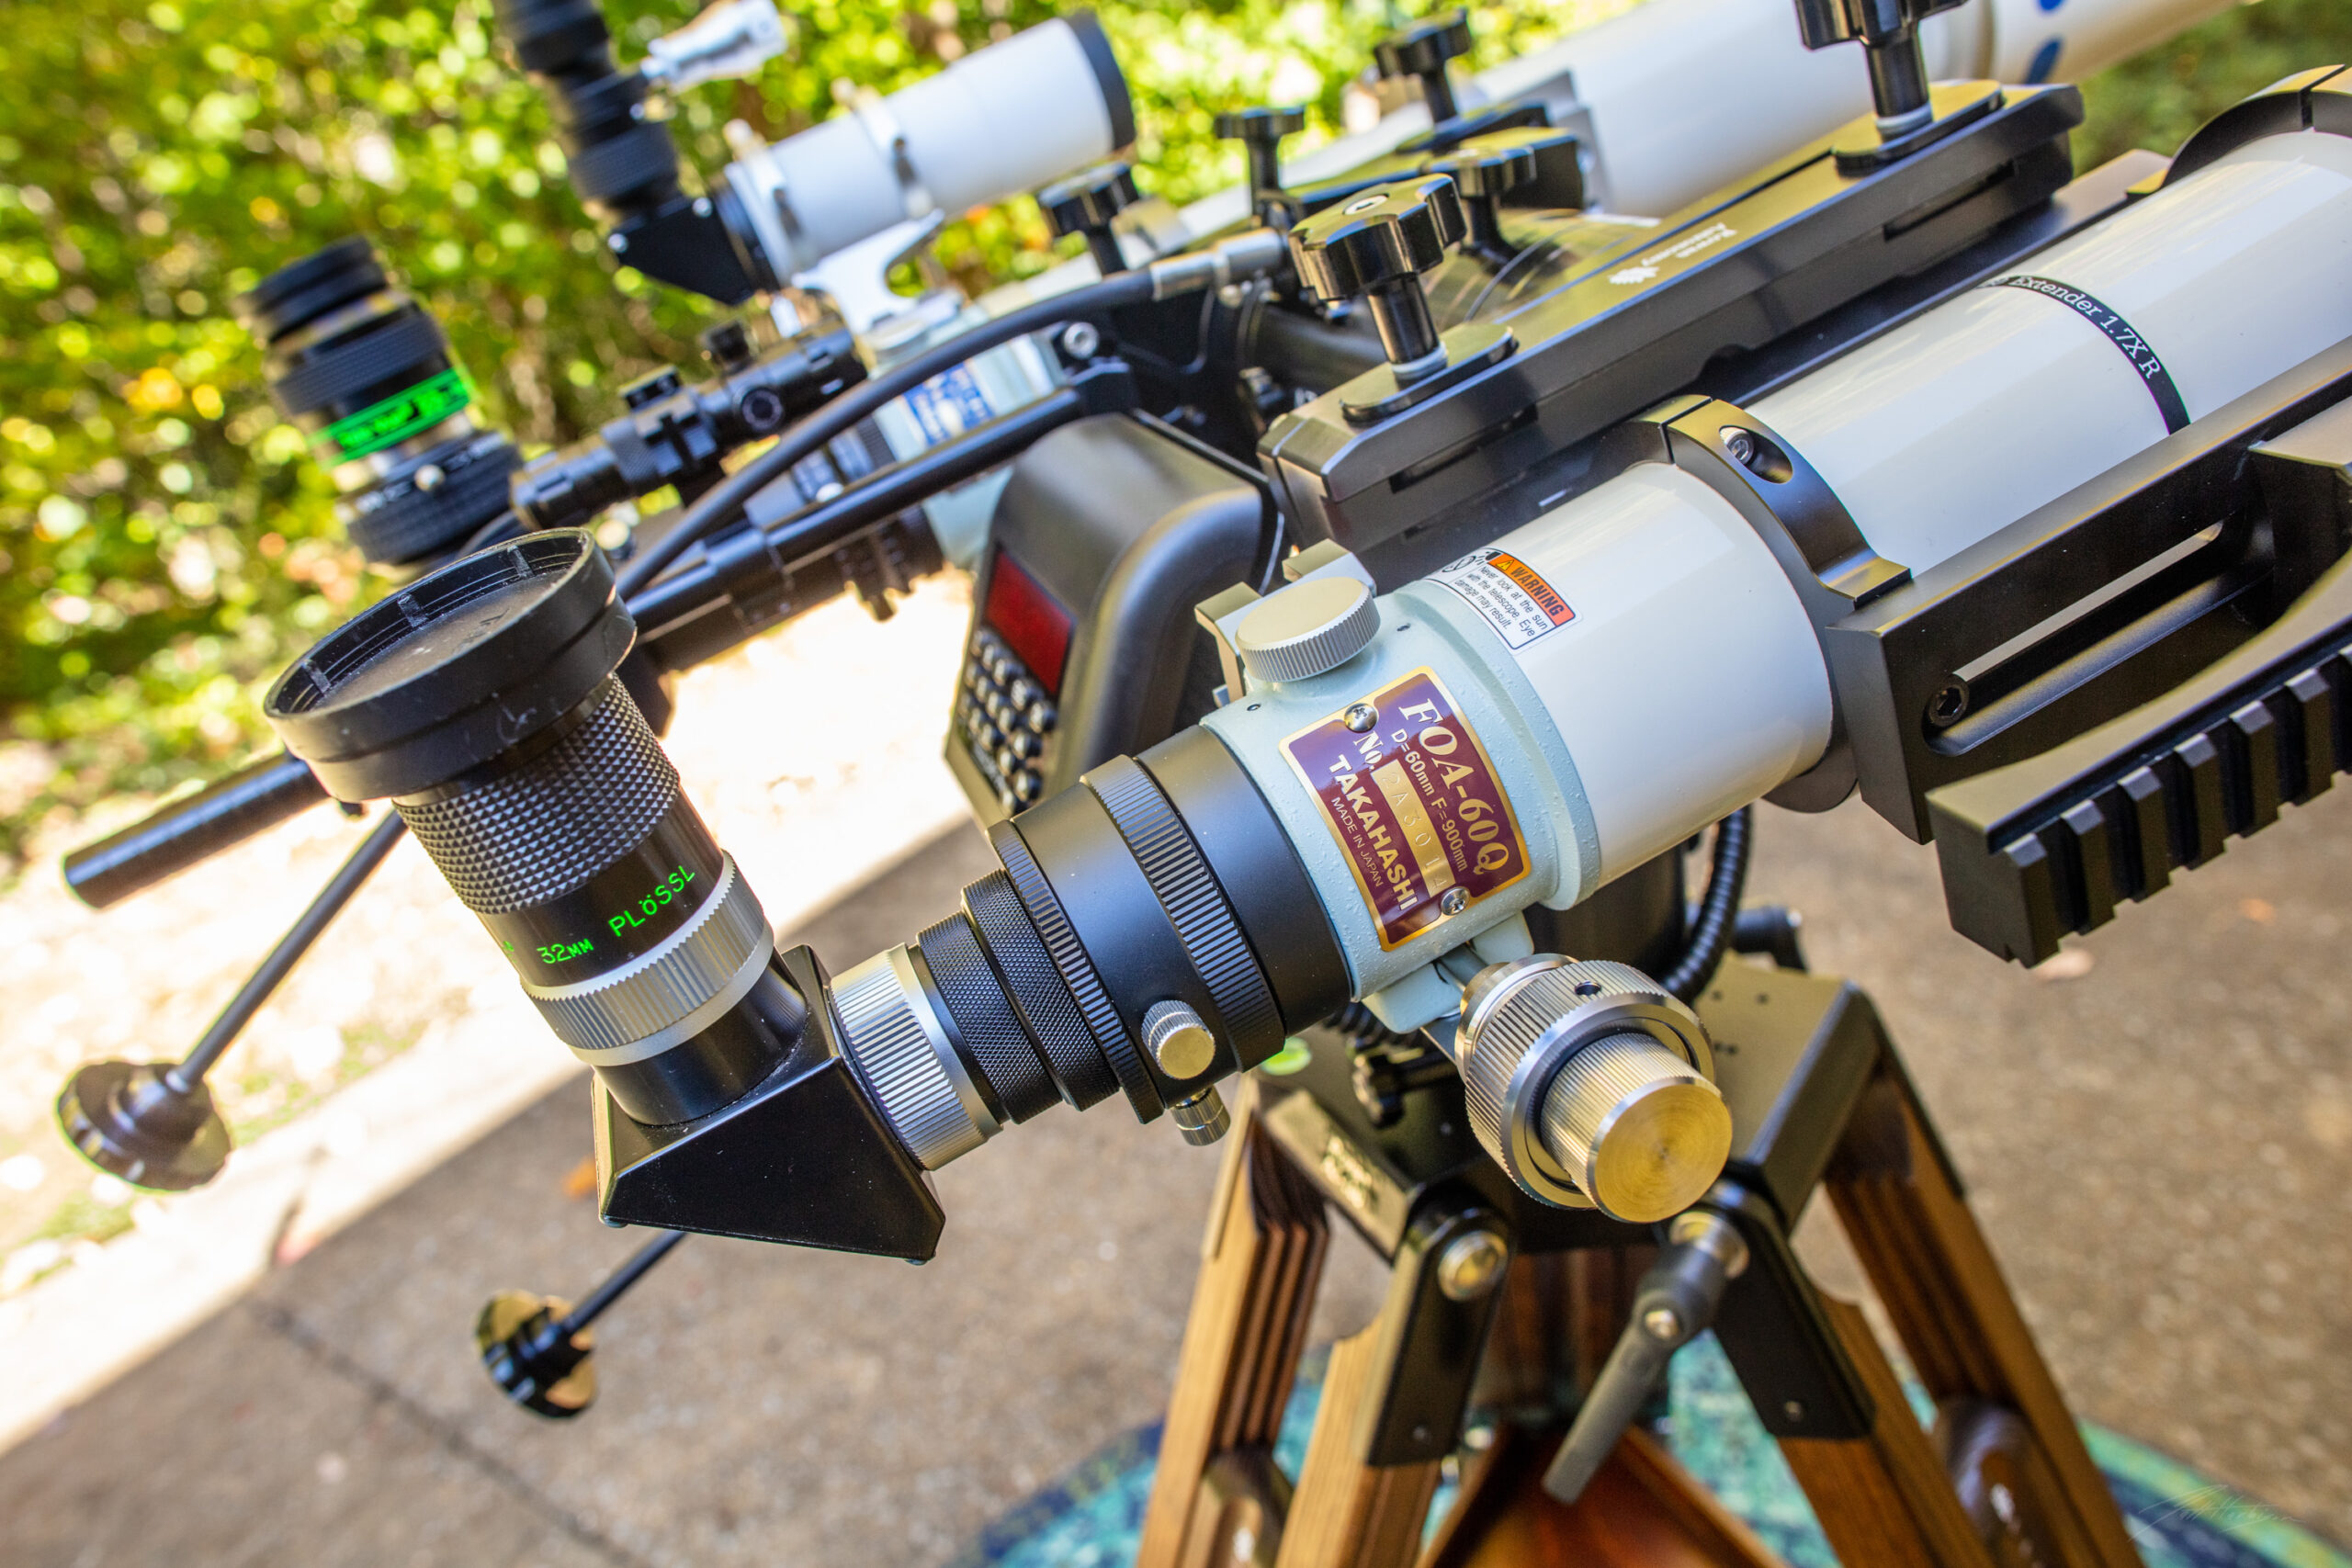
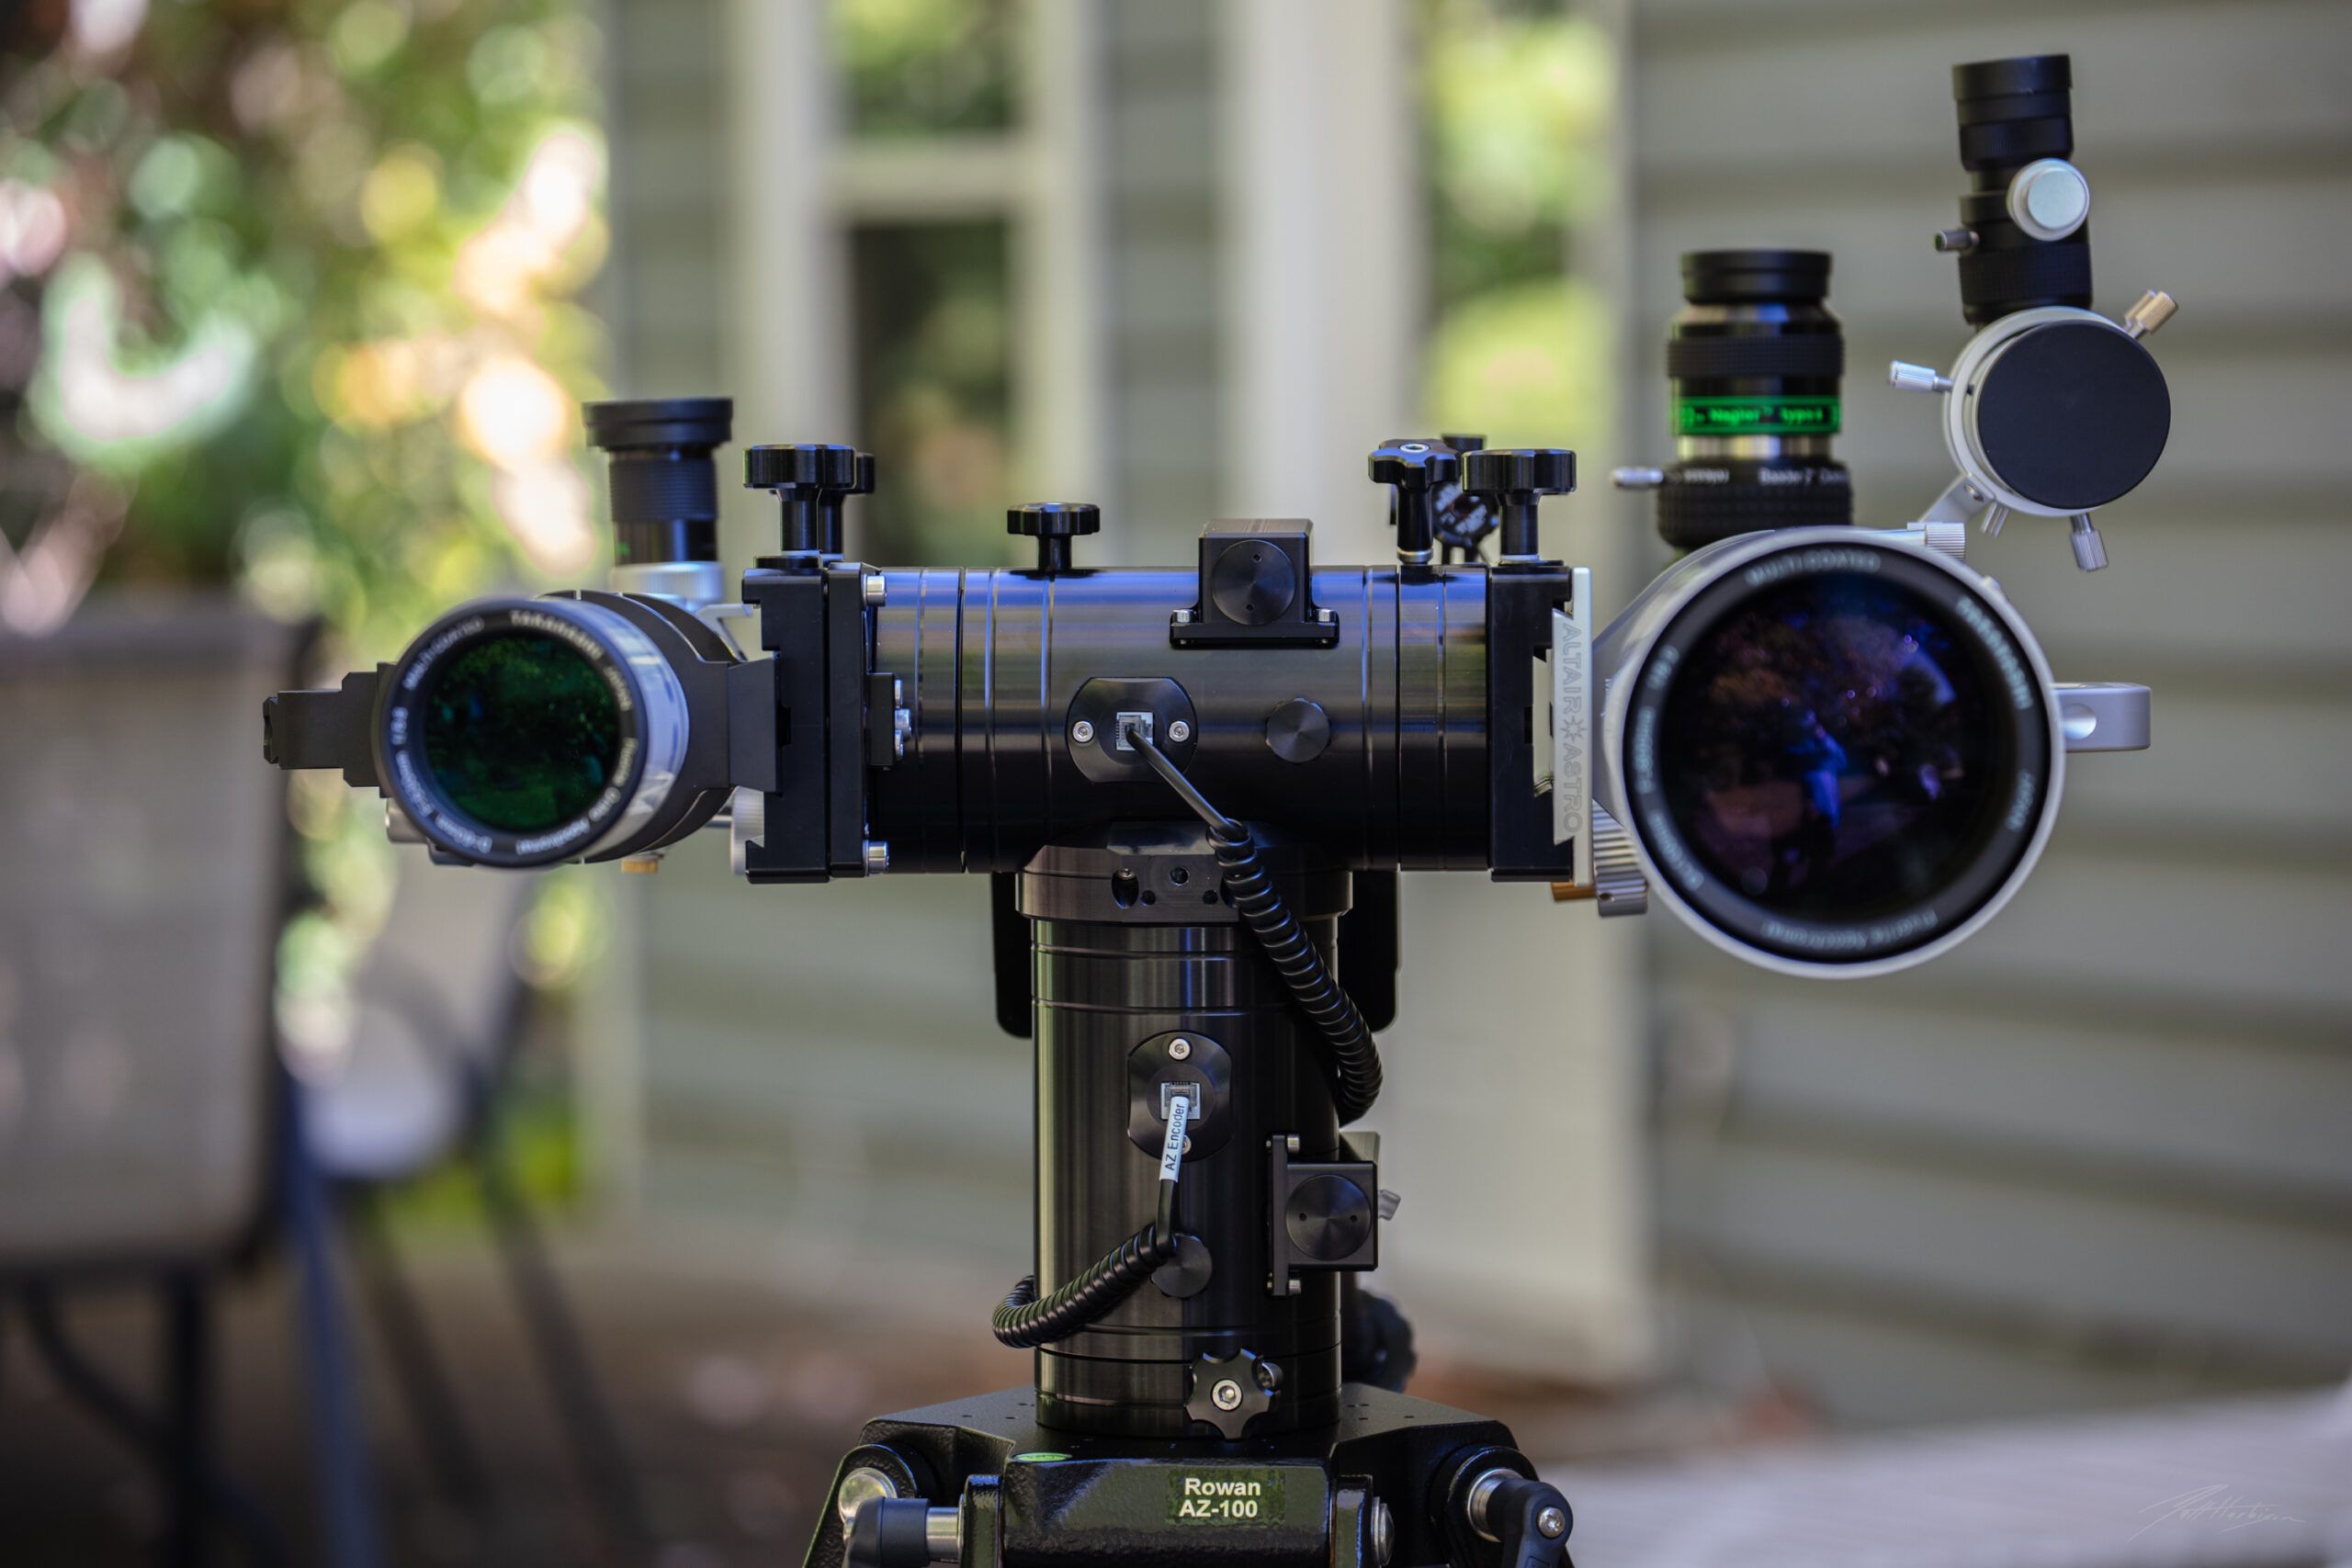
I opted for the dual dovetail saddles, meaning I can facilitate a losmandy or vixen plate on the fly. Basically, I can put any scope connection in these saddles. The two securing knobs are satisfyingly secure and easy to turn. I love that it’s actually a knob that provides some leverage points instead of a simple scalloped design that is seen so often these days.
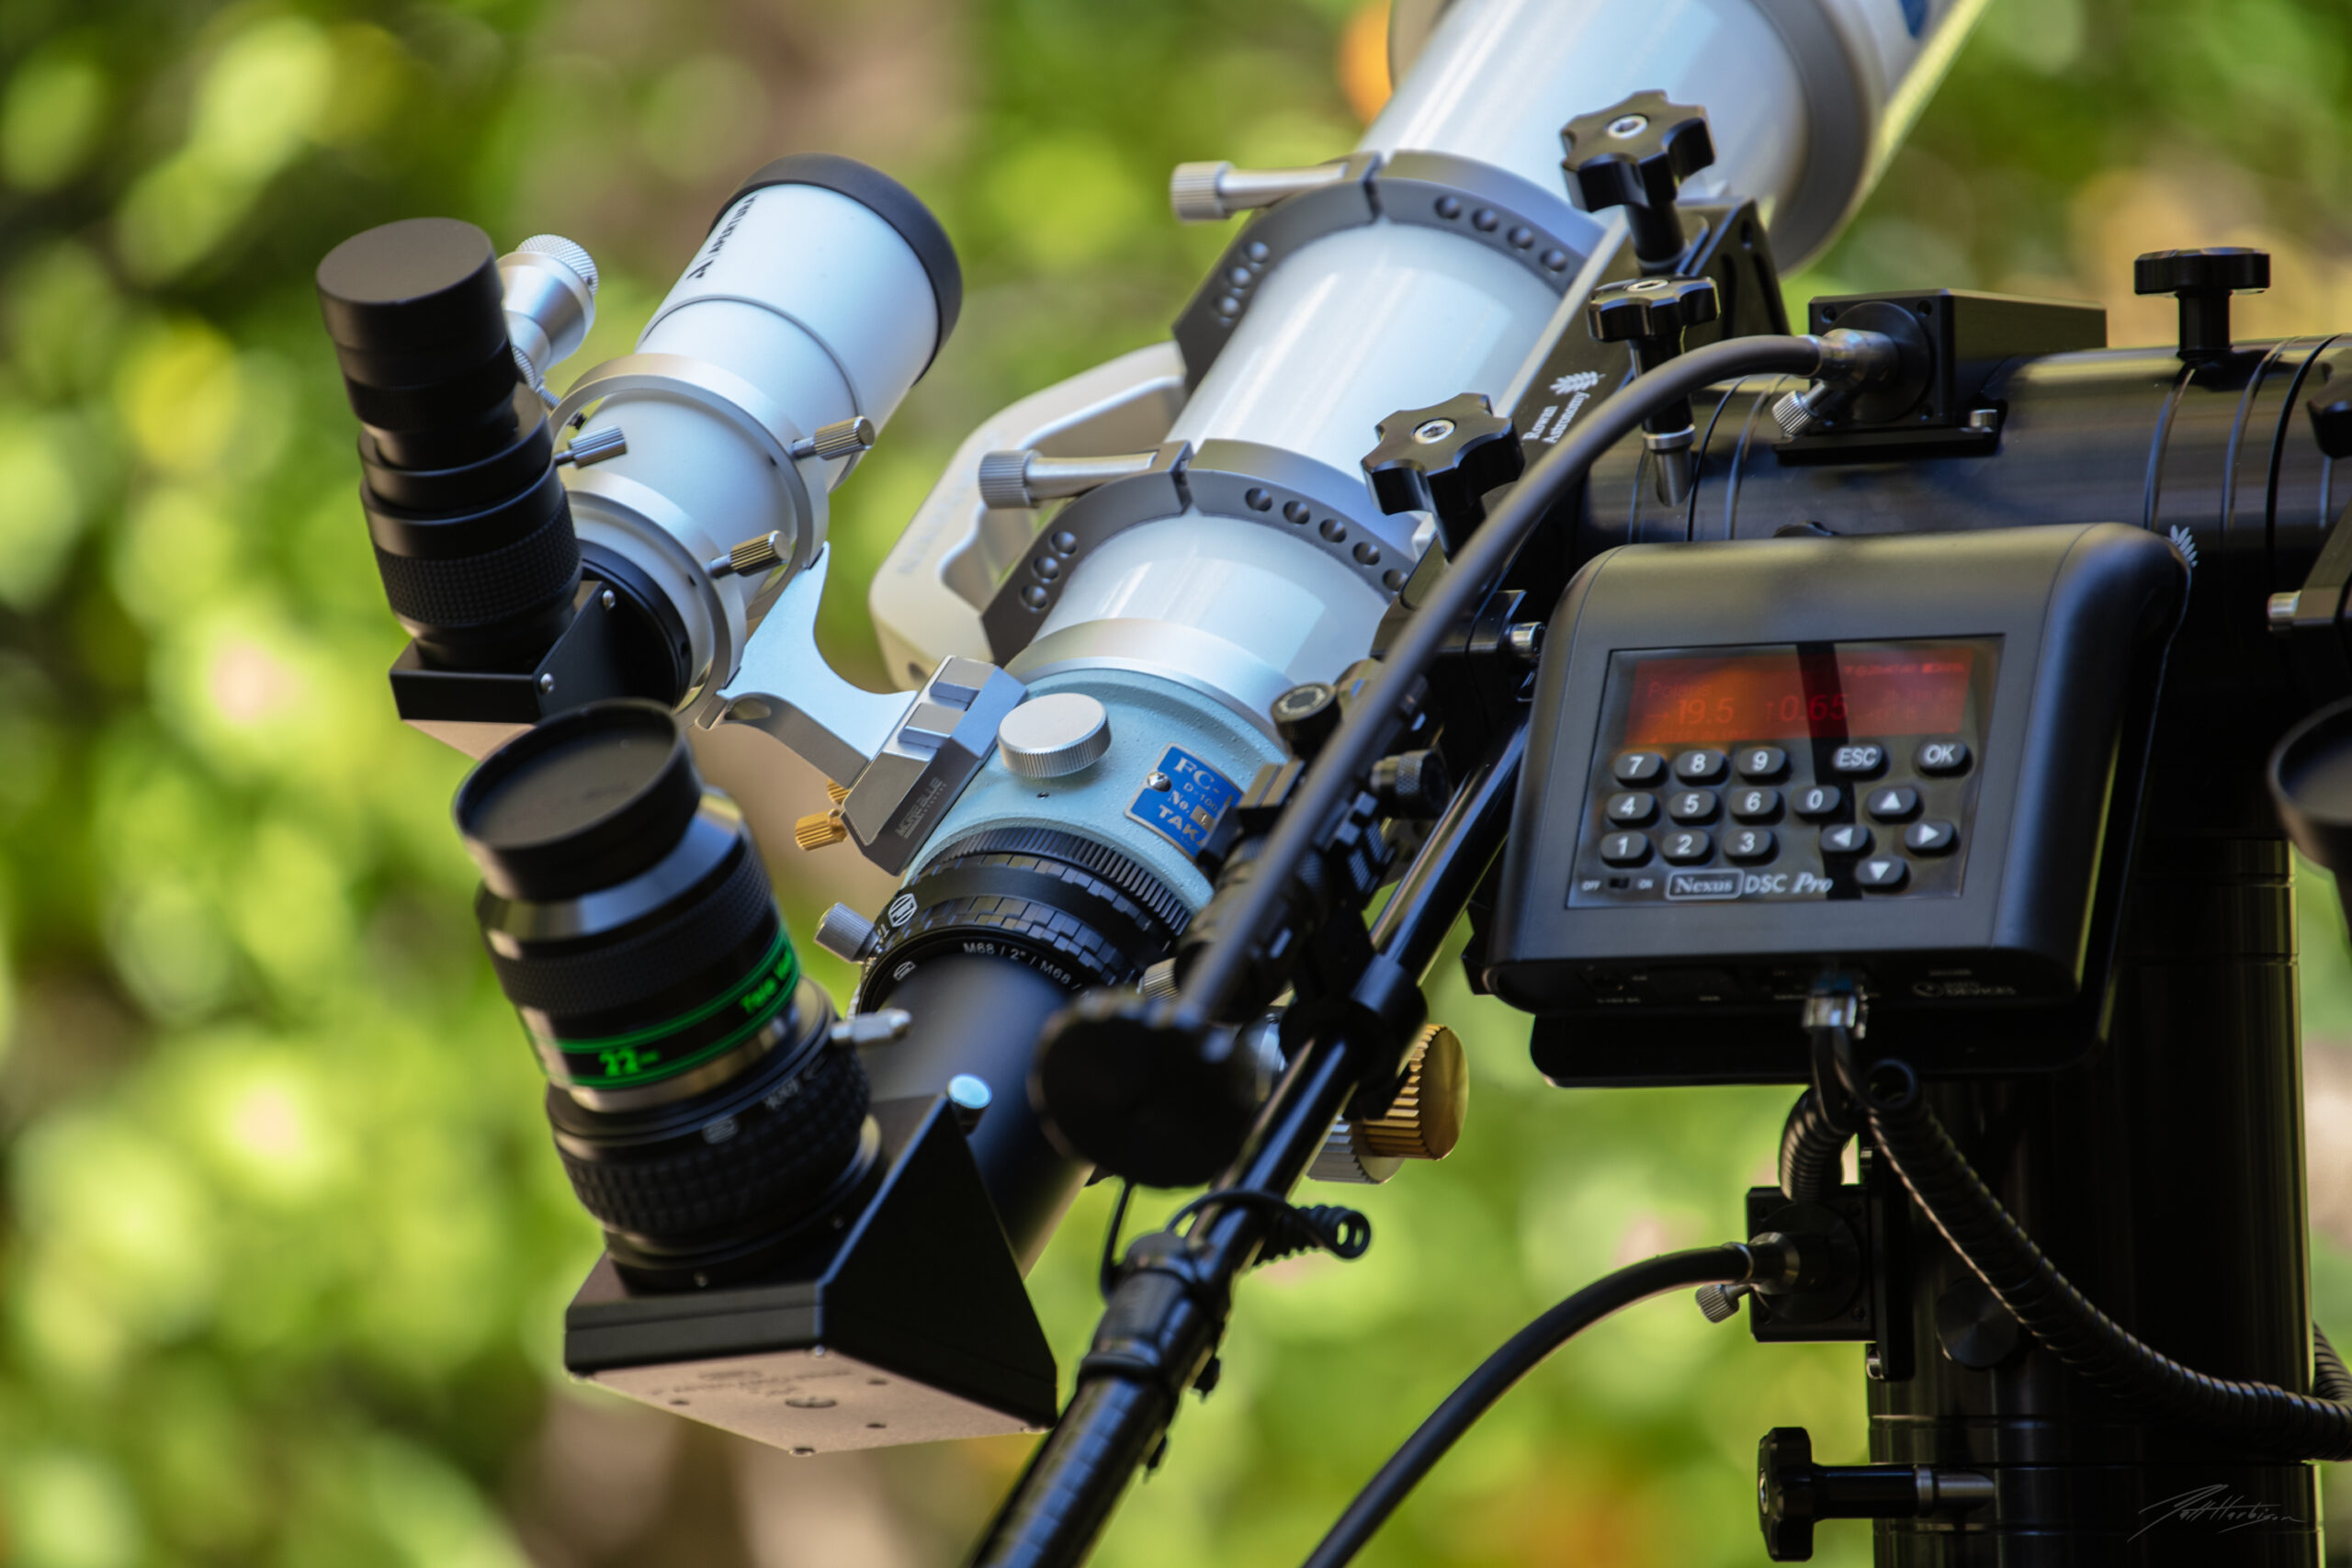
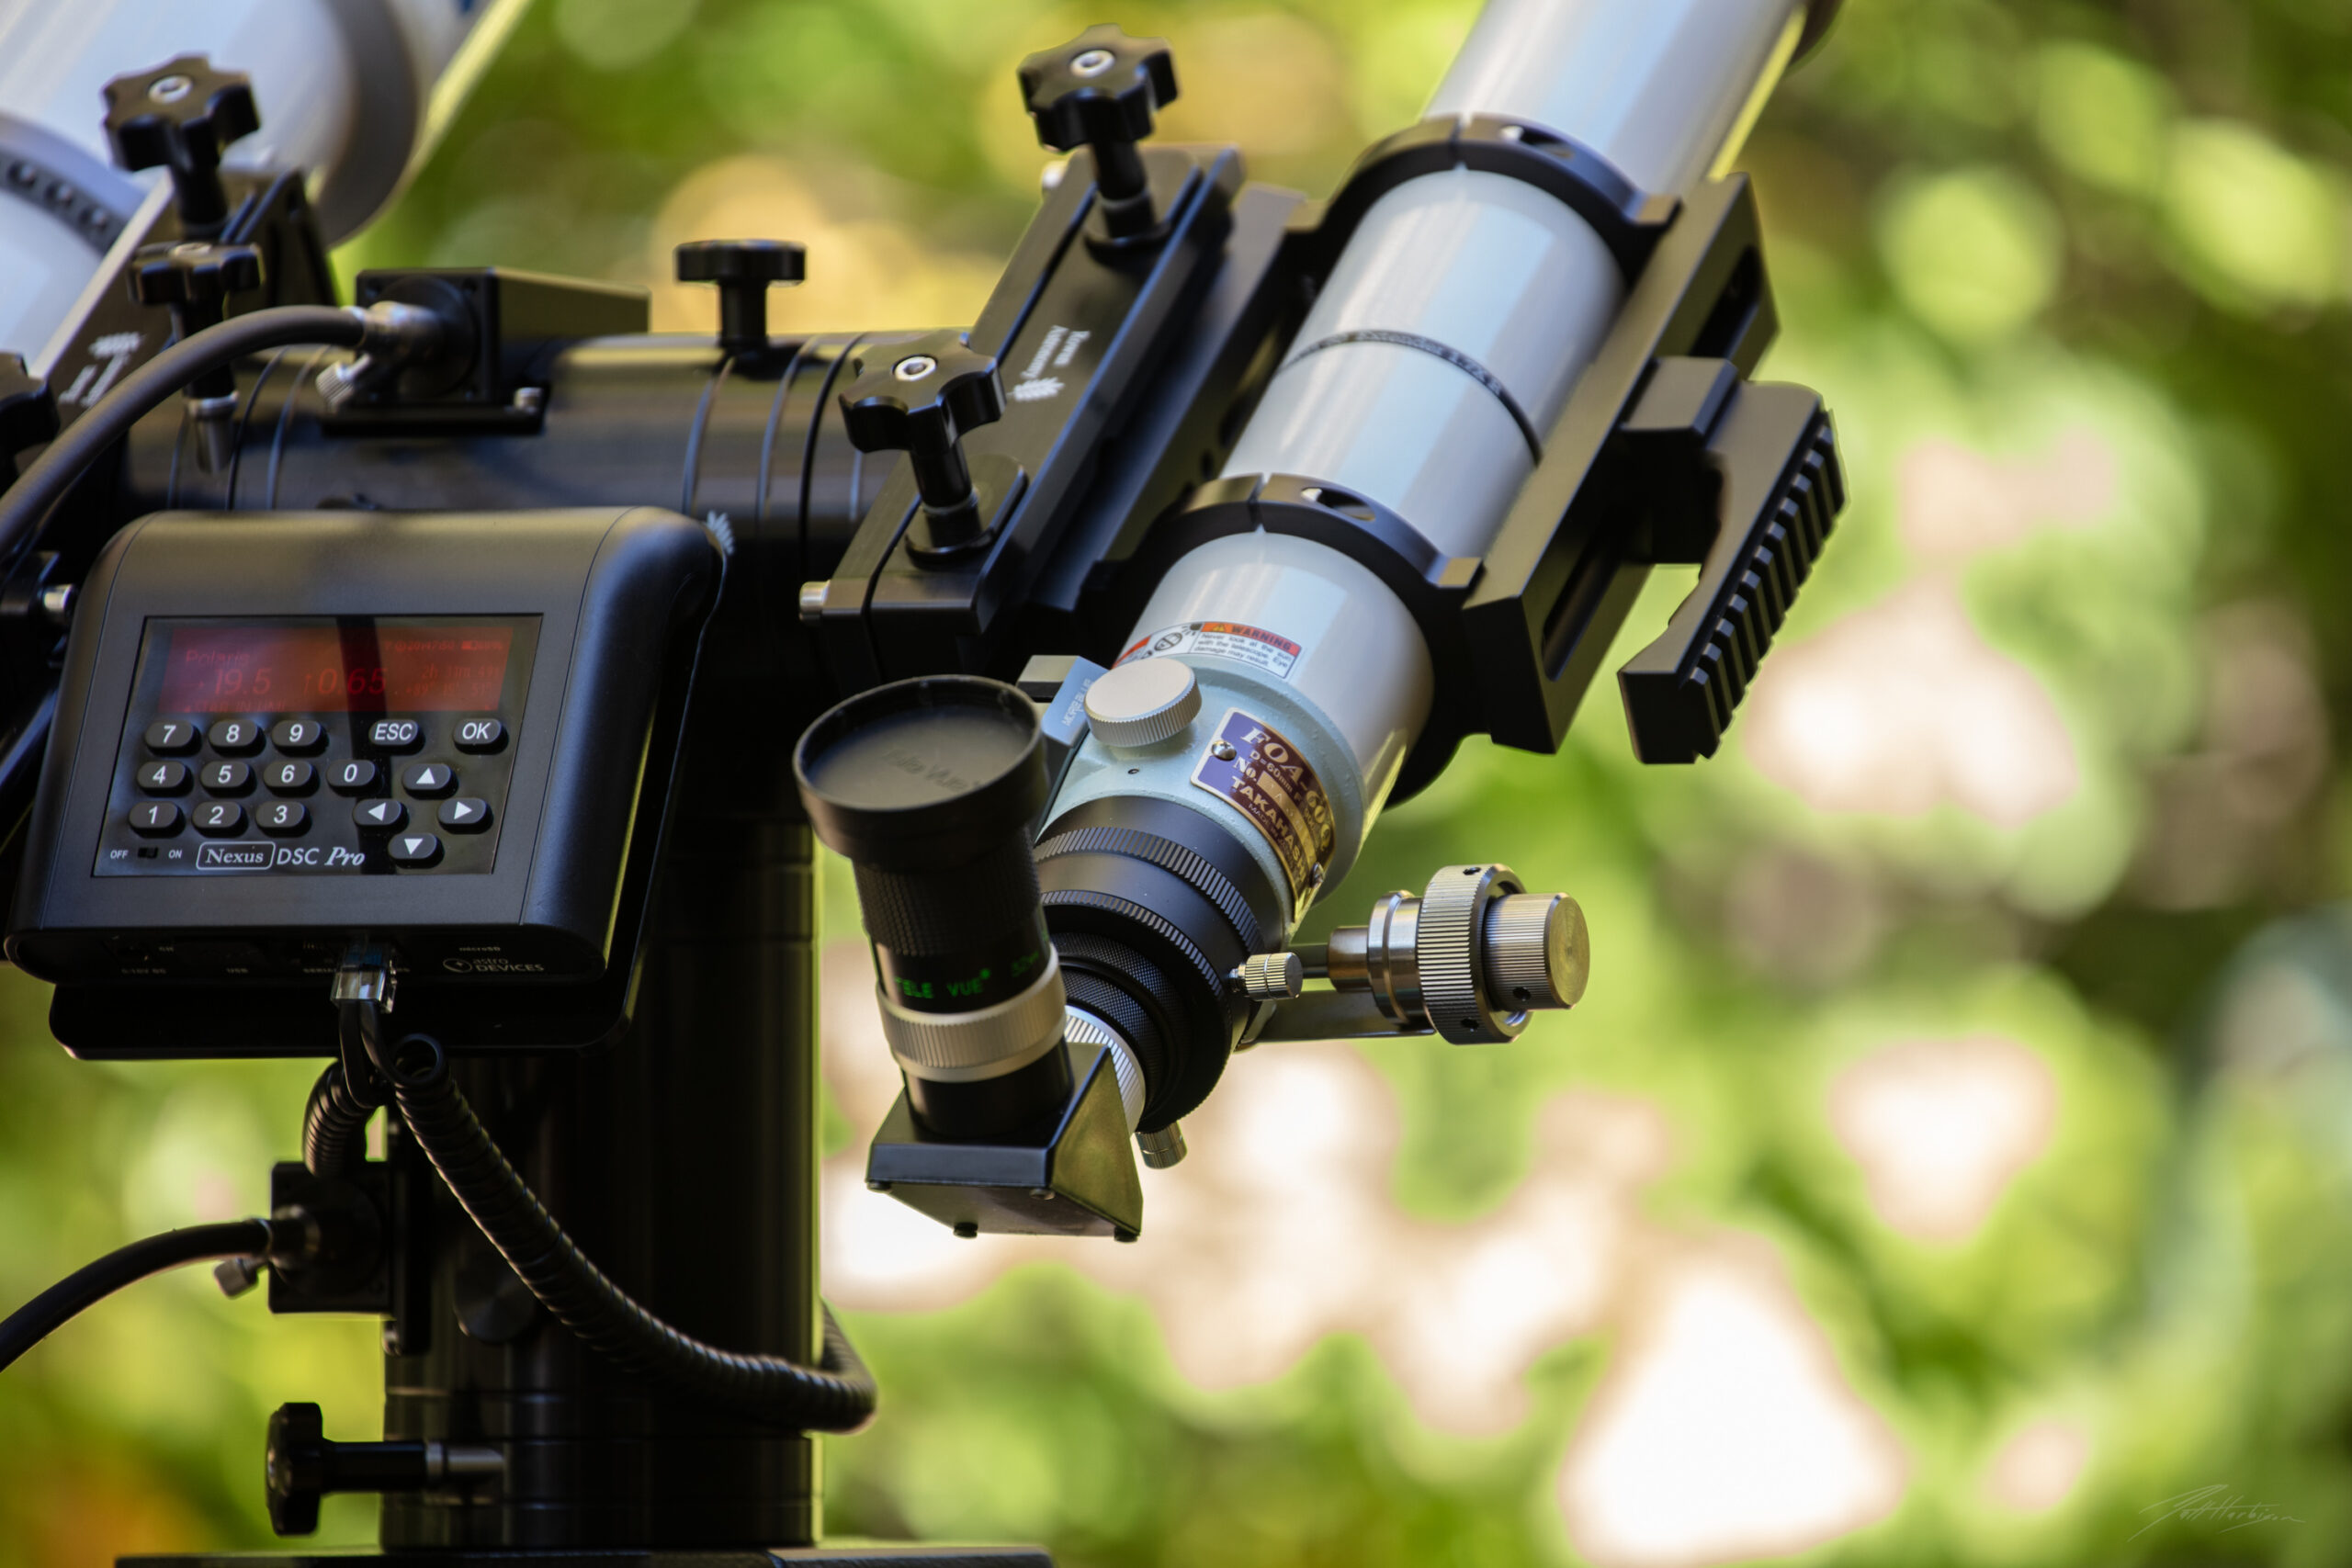
Finally, I had my unit fitted with the Renishaw encoders. I can’t stress enough the importance of this feature. I’ve been using the Nexus environment for close to three years and I now feel like a pro- although Derek and team had to coach me through a connection issue while I was initializing my Nexus DSC pro to my AZ100. Two things hung me up. 1) The correct step configuration for the DSC Pro is -152000, -152000. Many online materials will tell you it’s +152000, +152000, and if you have the Nexus DSC (non pro) unit, this would be correct, but the pro takes the ( – ) in front of the steps. Also, in Sky Safari, which is another animal all together, under the coordinates settings, the feature needs to be set to “HORIZON” instead of “EQUATORIAL”. The result of the incorrect setting had my mount appearing to slew diagonally in Sky Safari.
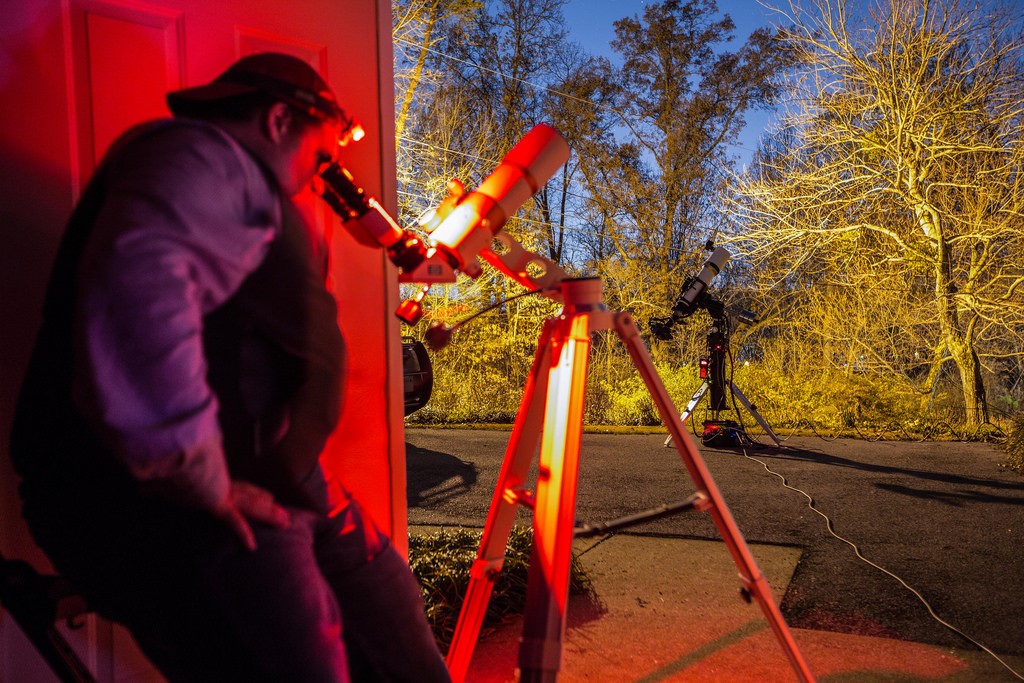
In the Field
Slewing to target with the handle and the fluid movements of the axes provide a simple and effective system of star hopping. Once on target, the slow motion controls take over, providing the user with countless time on object. Easy. Simple. Fluid. As with ANY premium mount or equipment, the mount does indeed disappear as it becomes the observer and photons. Good equipment takes you there. This is good equipment.

As I mentioned above, I have my mount synced to Sky Safari though the DSC. Again, with the AZ100 and the addition of encoders, the Nexus DSC pro, and Sky Safari, it is quite simply the pinnacle of observing ease. When linked to SkyLive, an observer can create their observing schedule from a desktop computer, a cell phone, or a laptop, before setup and be assured they’ll be moving to the correct target with enough time to observe before the target sets. For the last two years I’ve been working on the Constellation Hunter Program (Northern Hemisphere) through the Astronomical League, and the Sky Safari system revolutionized how I observed. It has allowed me to complete the Spring Galaxy Challenge, the Summer Globular Cluster Challenge, and I’m almost finished with the Globular Cluster Observing List. I’m also 9 constellations away from finishing the Constellation Hunter- Northern Hemisphere Program.
Setup and Takedown
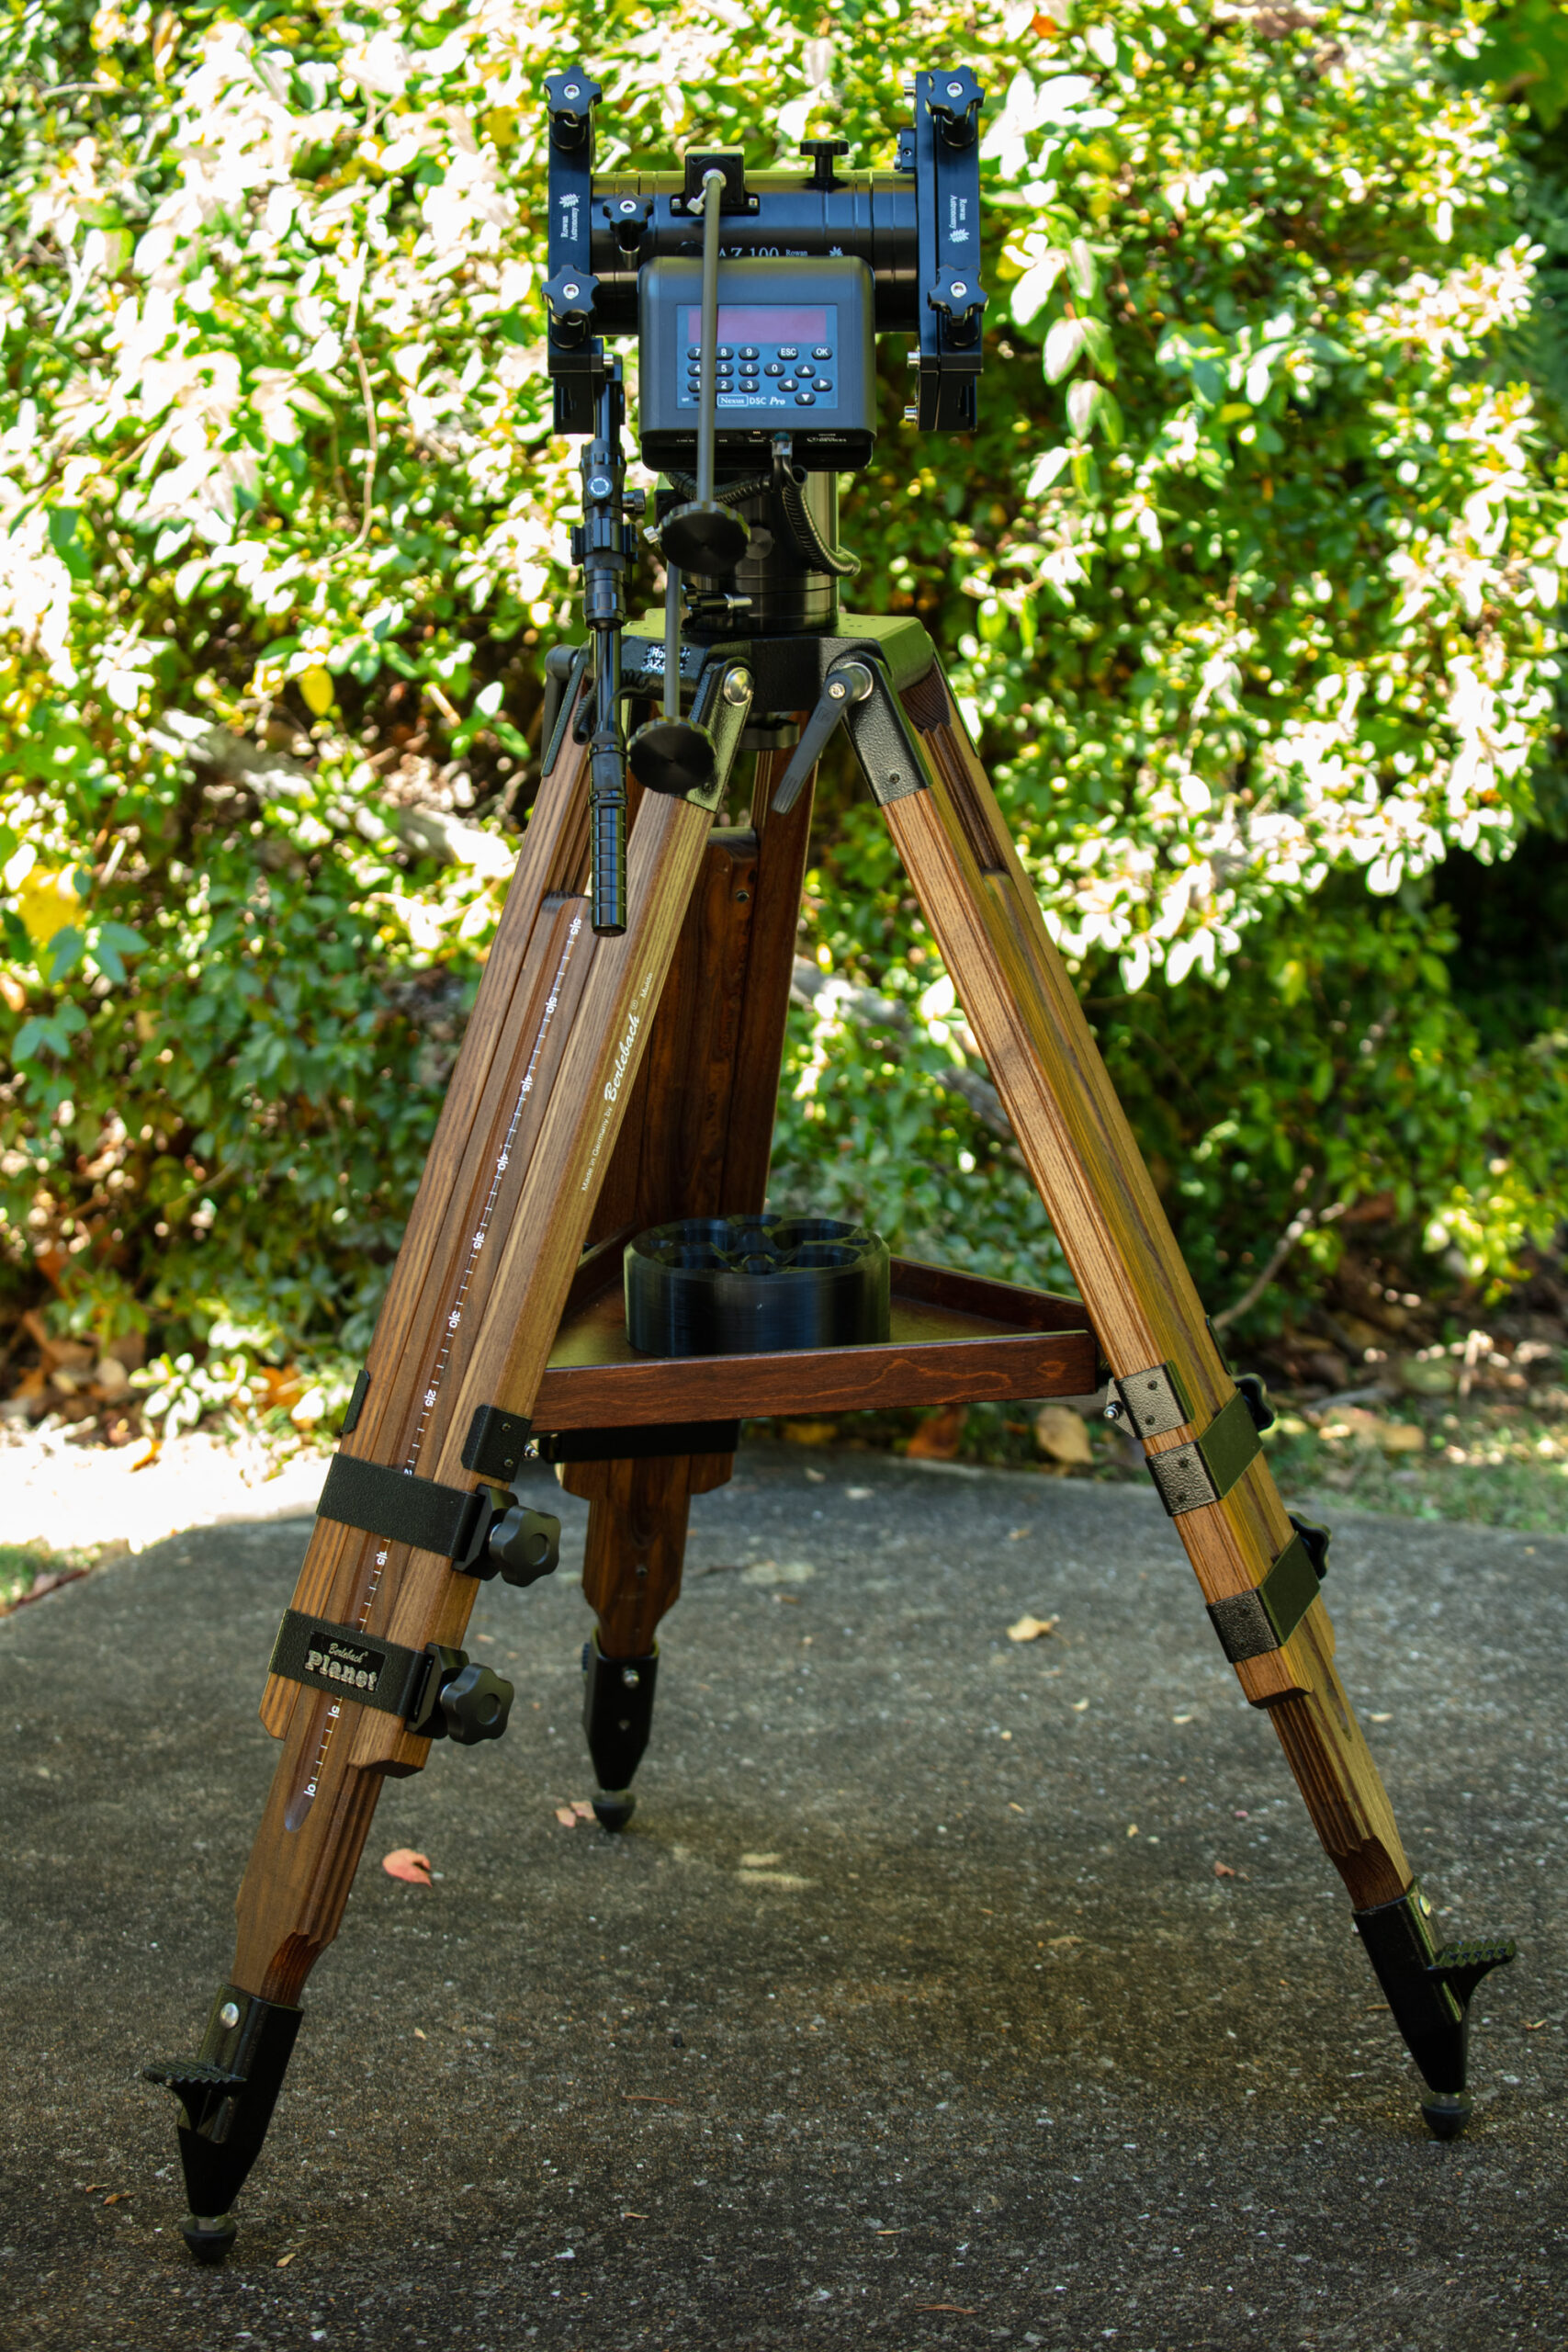
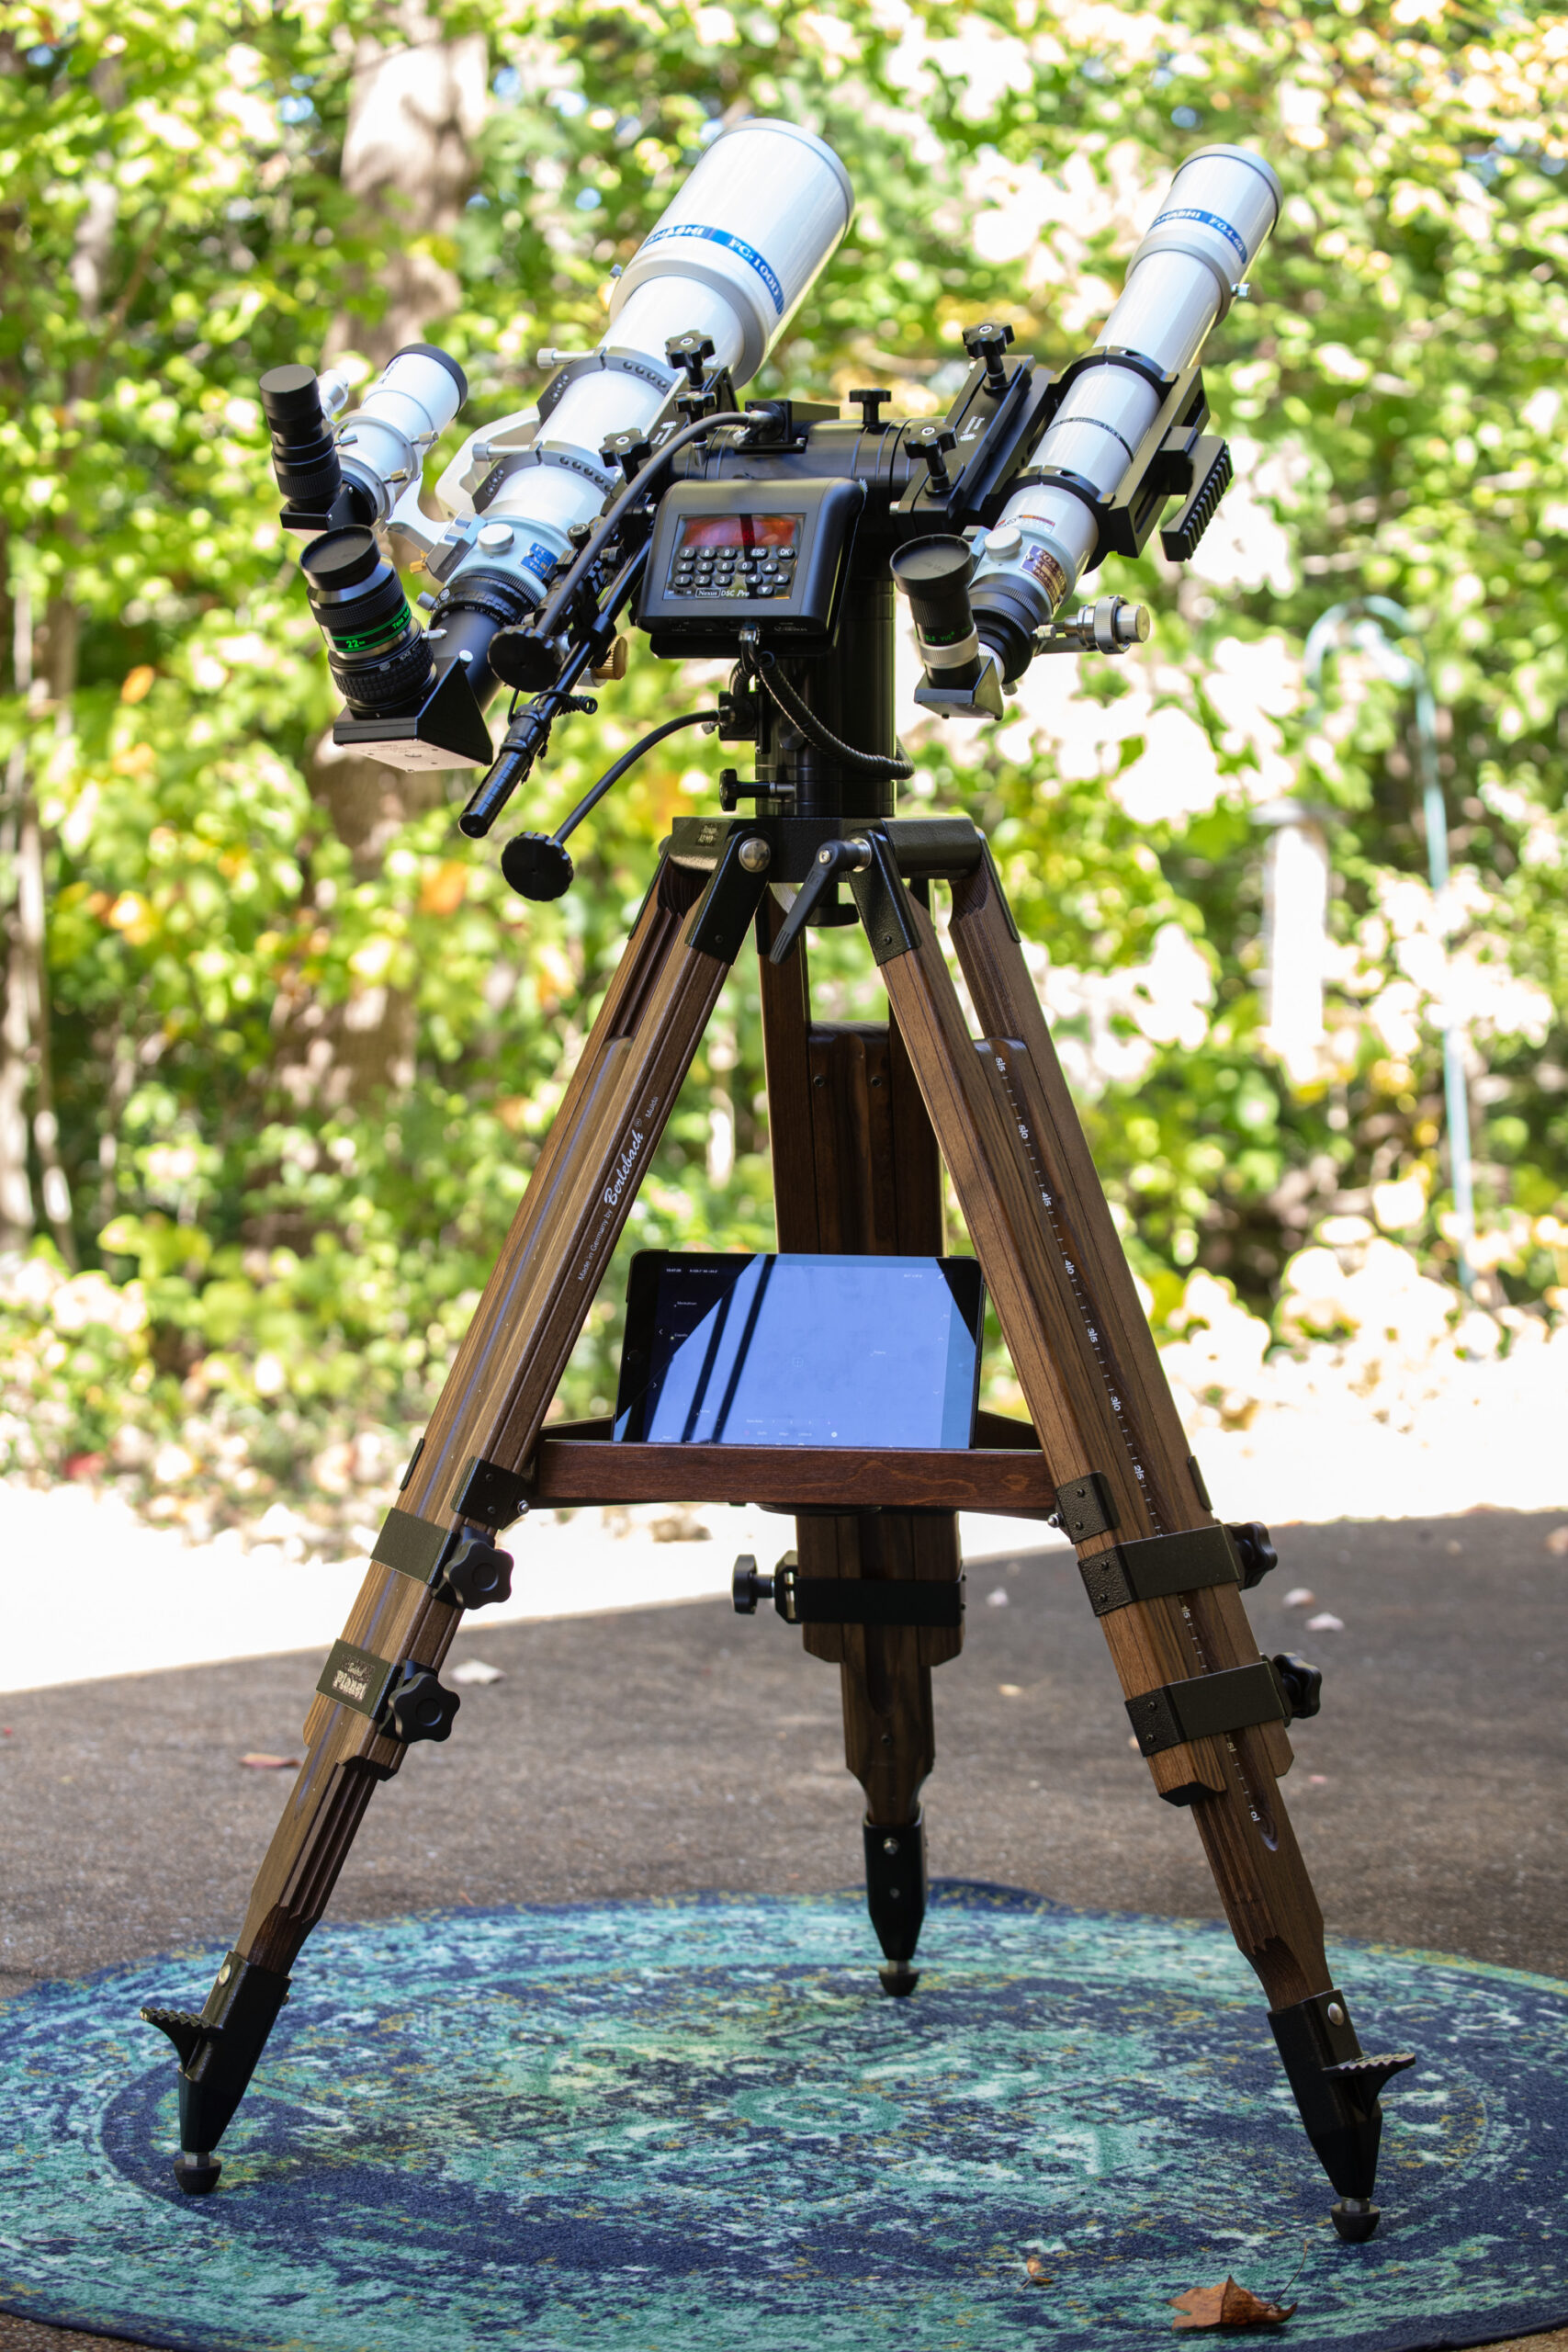
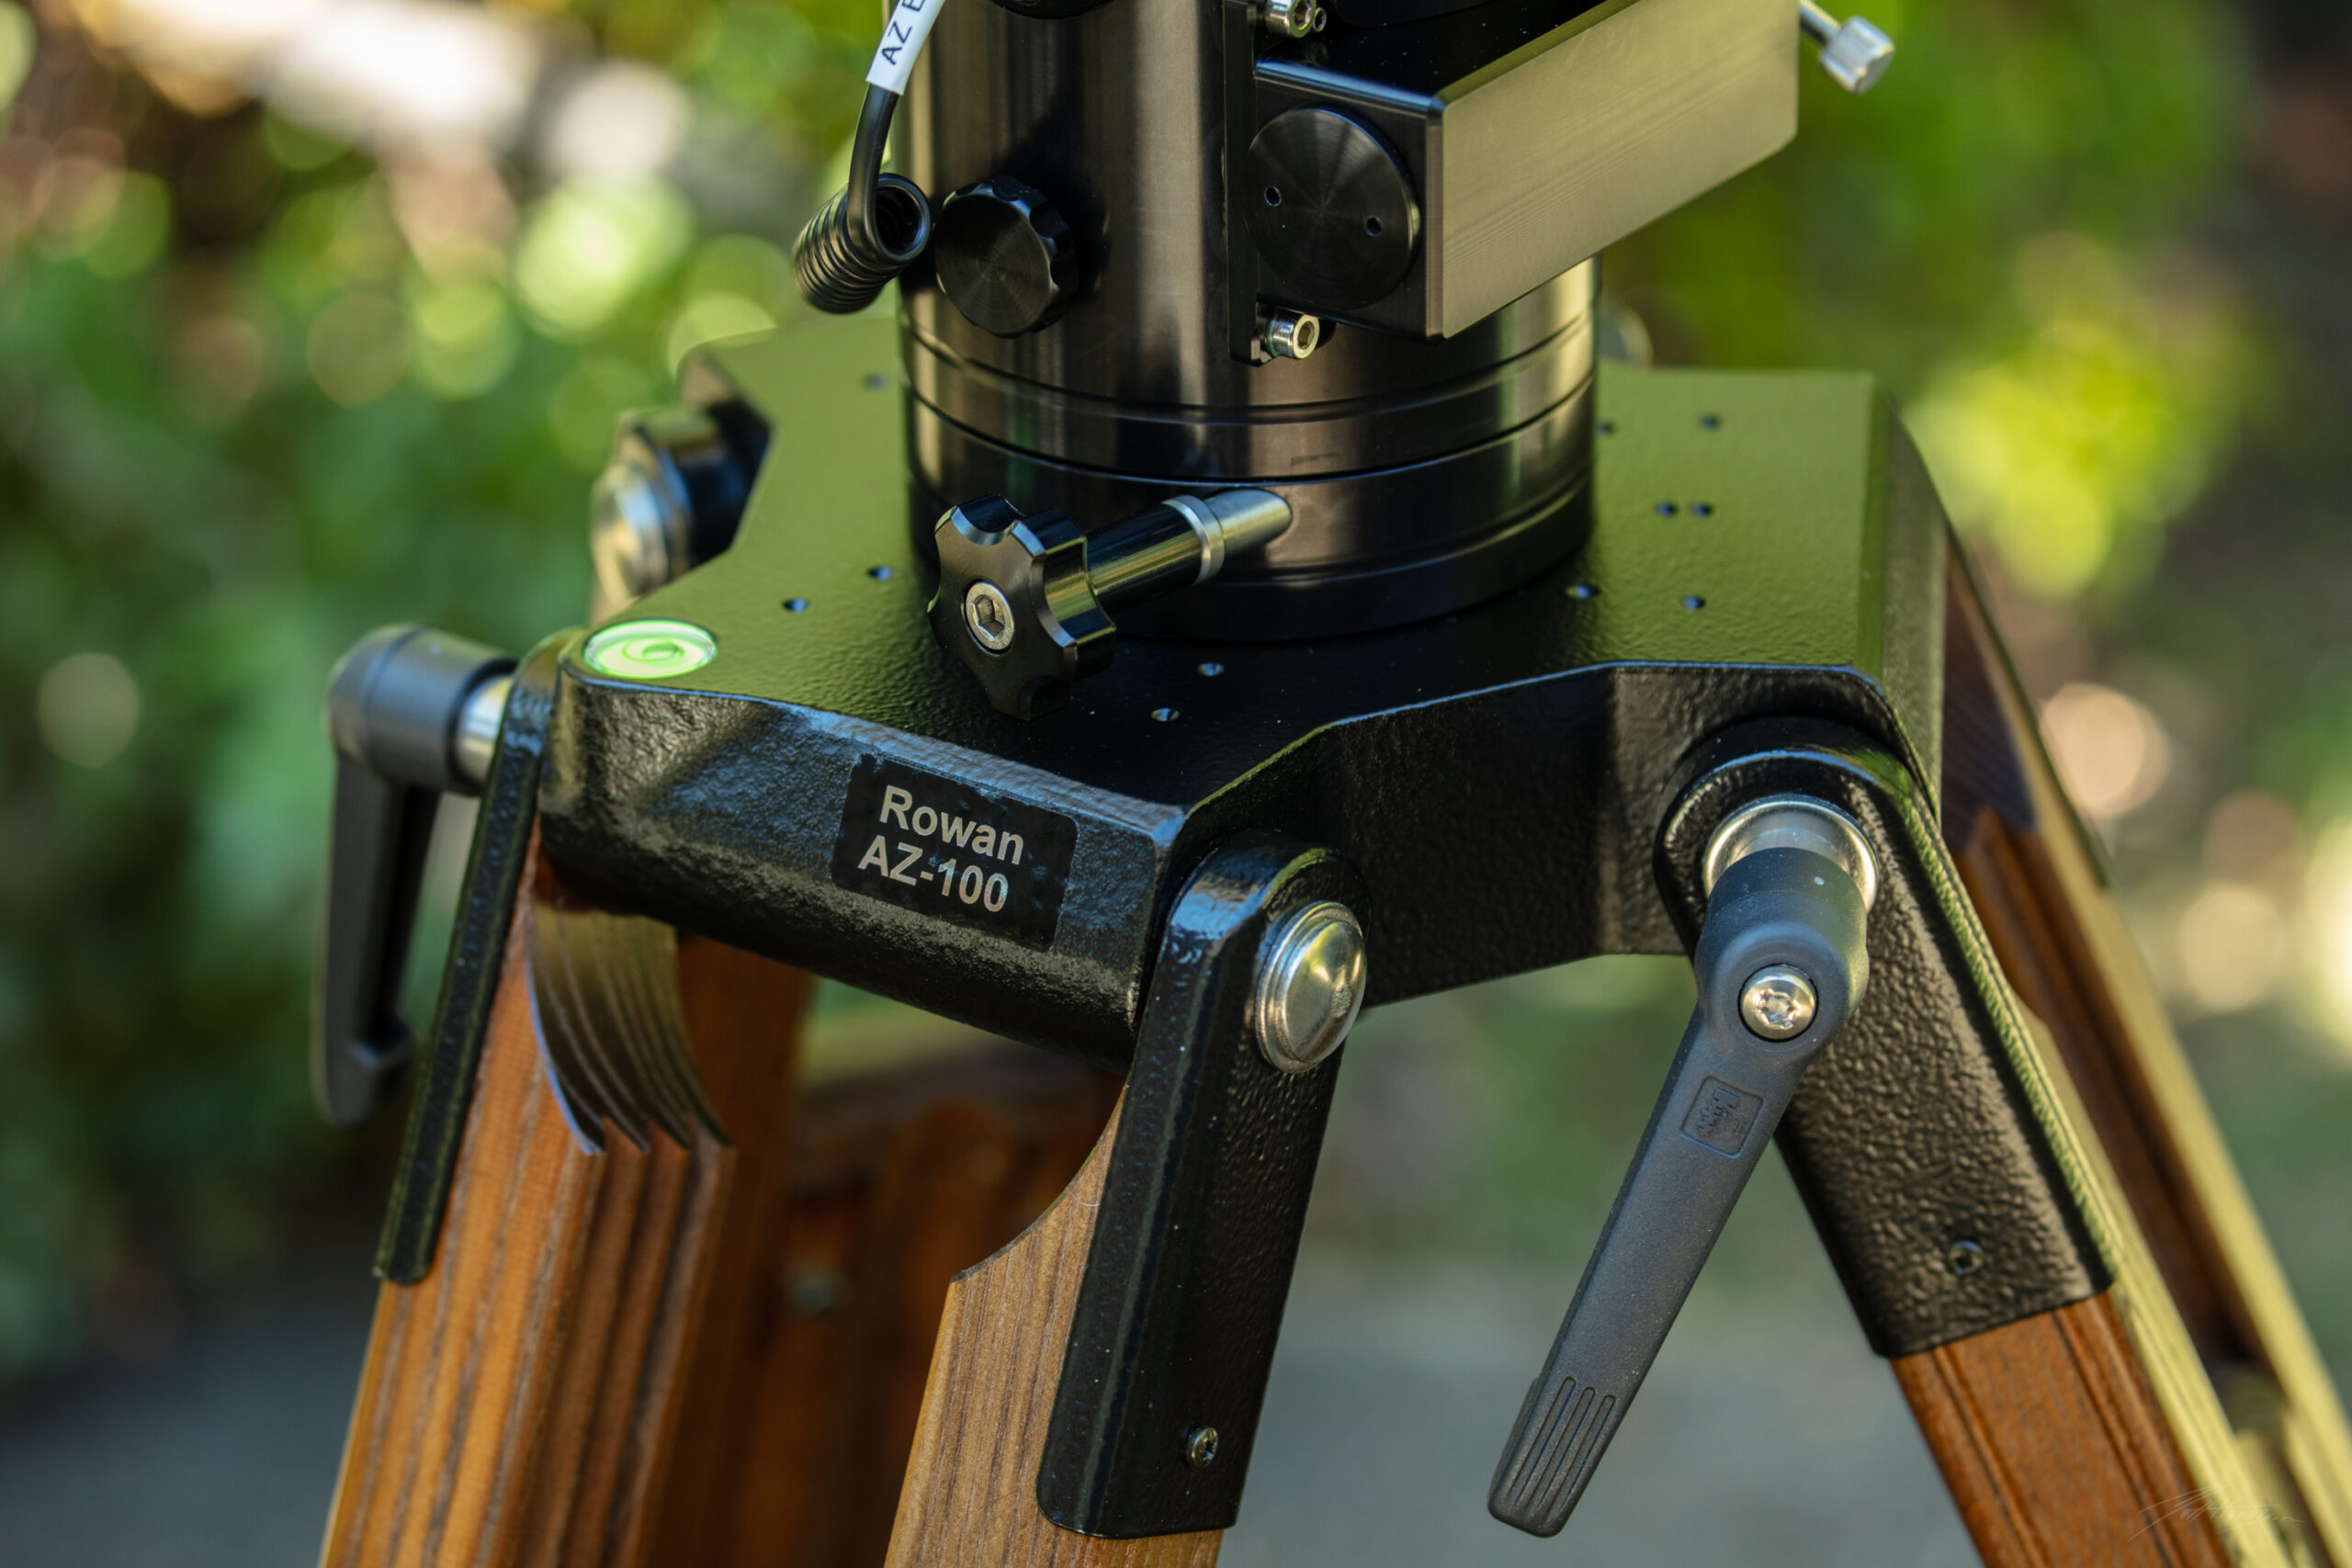
Once I took delivery of my AZ100, I immediately installed it atop my Berlebach Planet. Rigid and completely stable, it’s hard to imagine it getting any better. I want to mention I also own a Berlebach Uni 18. The Uni 18 is also very secure AND much more portable than the planet. My recommendation would be to assess your needs. If you are concerned with portability, you’ll be fine with the UNI 18. If you are going to dual mount telescopes, and stability is of utmost importance, the Planet is for you. That said, both work well, but I’ll be using the Planet most of the time.
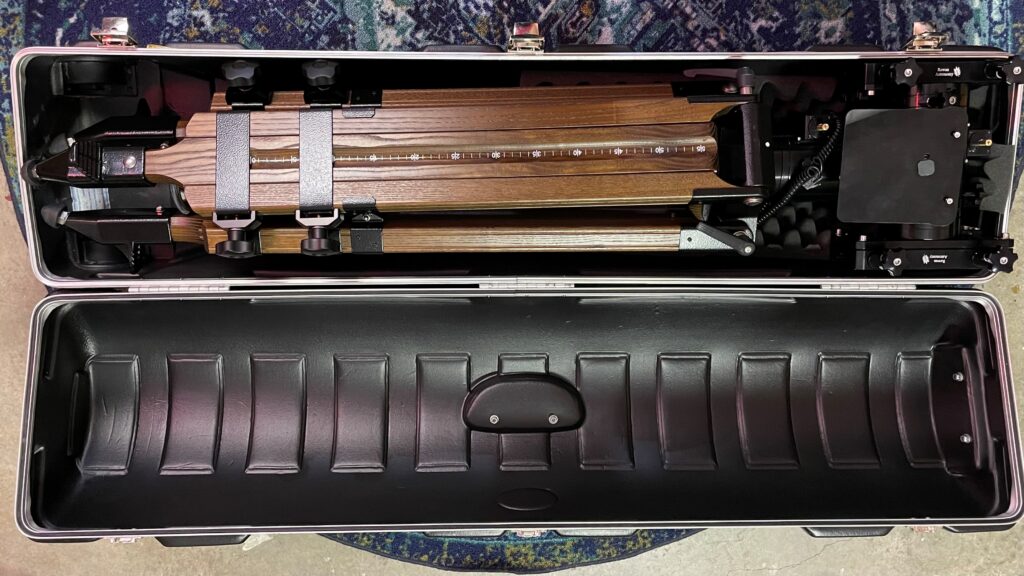
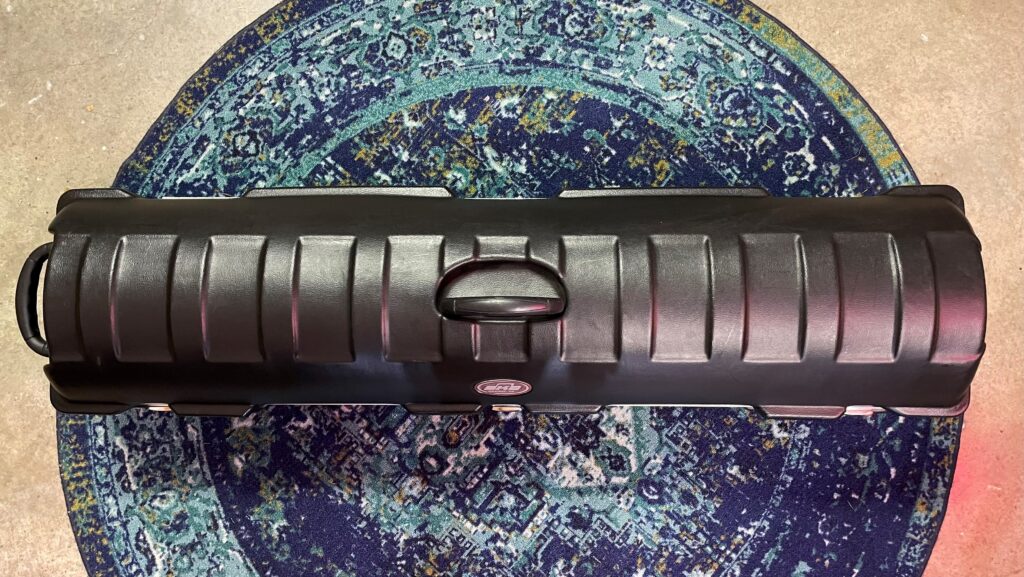
Setup is manageable for most visual setups, and that is the case here as well. It is certainly not as involved as an imaging setup. My AZ100 + Berlebach Planet fits nicely in an SKB golf club case. How easy? See the photos I’ve attached. It fits like a glove. The case also has wheels which makes it easy to transport. Disassembly of the AZ100 and Berlebach Planet are simple enough and certainly make the cases easier to carry if you are worried about heft. I may do this in the future to facilitate the 125mm extension.
Initial Concerns
I know my review reads like a 3rd grade love letter so I thought I’d mention some things that I’ll have to think through.
1) The DSC tray mounting is suspect. Twice now, the ballhead has dumped my DSC straight out of the saddle when I’ve inadvertently bumped it. I’m pretty sure the ballhead is an Astro Devices part, while the black tray is a Rowan part so I’m not sure where the issue is. I’m thinking through options, but for now I’ve put a bit of gaffer tape onto the platform to keep it affixed.
2) The machined aluminum knobs on the slow motion controls turn into small medevial flails once you inadvertently snag one on clothing. I might look into a rubber knob or 3D-printed plastic knob dipped in rubberized coating that won’t ding eyepieces, the mount, a tripod, your head, or small children (but those shouldn’t be around your nice telescope anyway, just kidding). :). And I should mention the cables themselves are AMAZING.
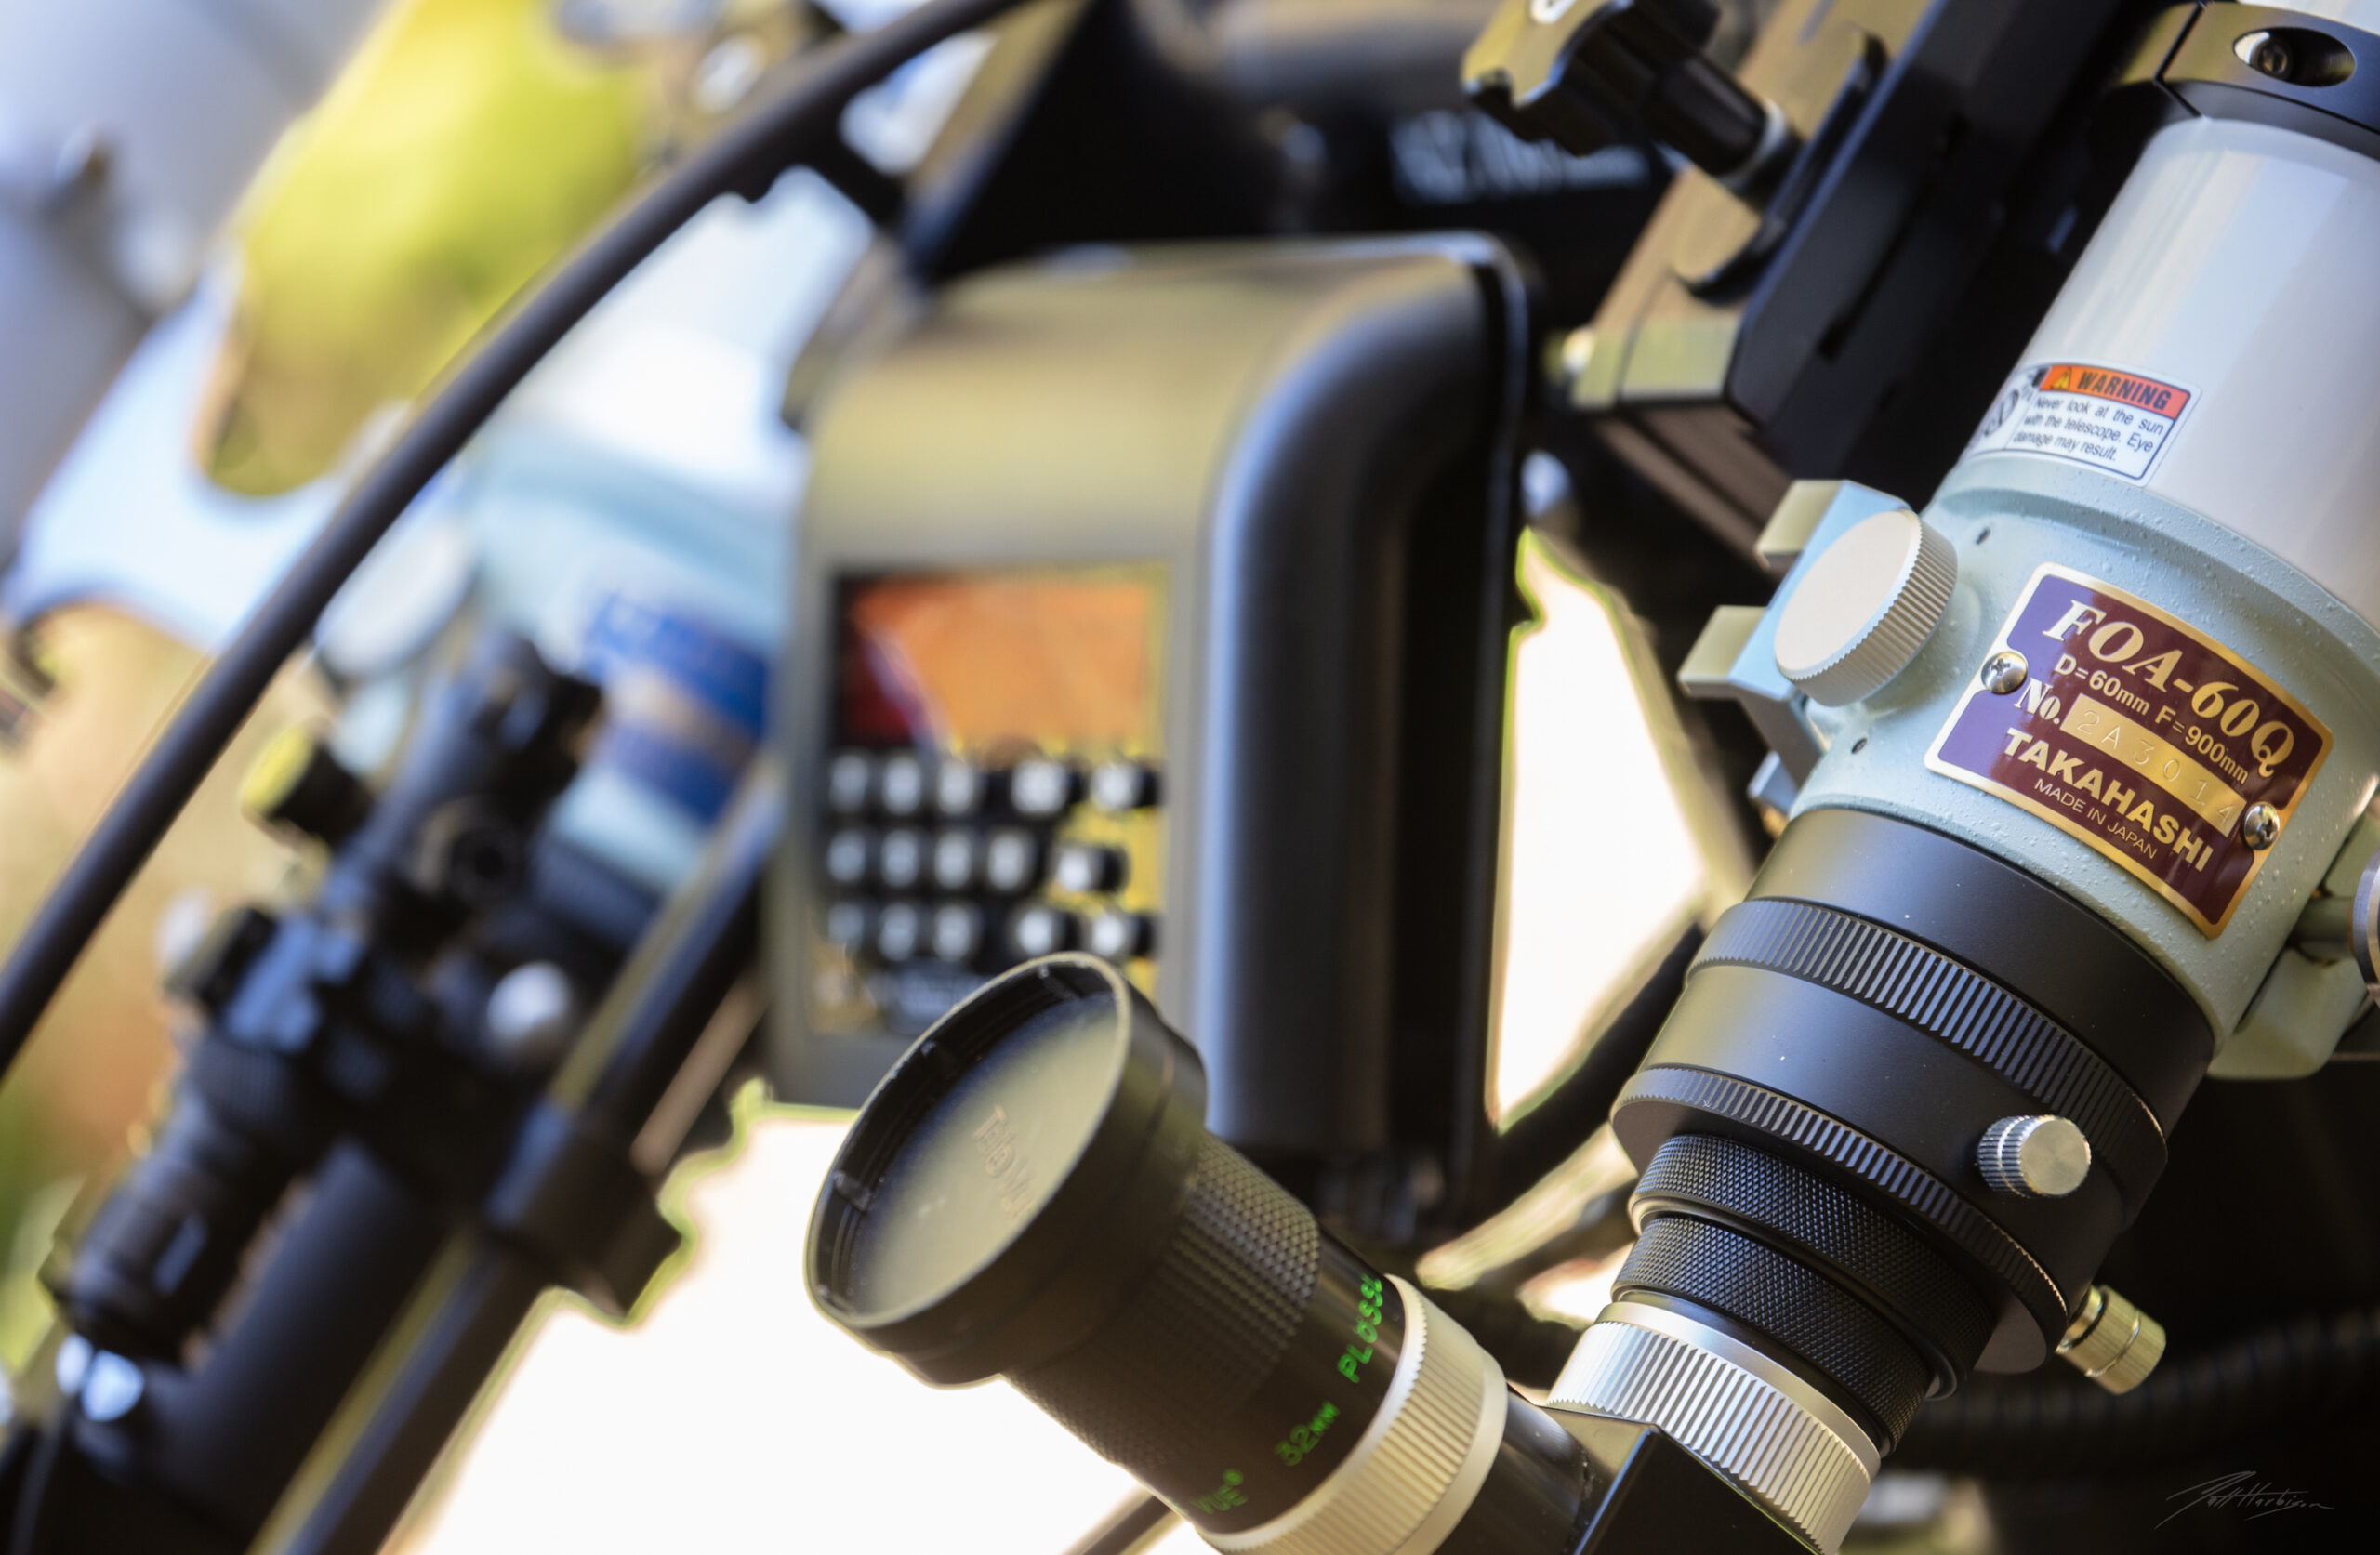
3) I ordered the saddle alignment part to align my scopes. I consider myself a pro when it comes to getting things orthogonal, so this left me a little vexed. I managed to get both scopes pointed to the same spot with an object appearing at the top FOV of one eyepiece and the bottom FOV of the other, matching magnification. Jupiter presents in both eyepieces which is a miracle in and of itself. I’d prefer them to be both centered, but try as I might, one saddle adjuster does not seem to be enough so maybe I just need to order one more. Still, I assumed I could get away with one, again a fantastically designed part that is genius in it’s design, it just doesn’t give me enough travel in altitude adjustment.
**UPDATE** I decided to email Rowan about my dilemma, and Derek simply advised me to loosen the saddle plates from the mount and adjust them in the needed direction. Sure as the Sun, there was just enough movement to solve my issue, and now my alignment is PERFECT!
Overall Assessment
The Rowan AZ100 is among the best of alt/az mounts, and depending on your needs, it may be the pinnacle. As I’ve said many times now, It’s hard to imagine it getting better. For a week, at every turn, I’ve been impressed by this mount. No buyers remorse, so if you’re on the fence, now is the time to get off of it!
My plan now is to use this mount to travel to my dark site, complete my globular cluster list, finish the constellation hunter programs, and then report back. That should give me ample time to assess all of the mount’s abilities or faults.
Regardless, so far I’m very satisfied with this purchased and I find myself continually thinking about getting out under the skies and in the field on these controls. Here’s hoping you look forward to your observing sessions as much as I! And for me, I can say I have the ultimate alt/az astronomical telescope mount!
Clear Skies!
Matt Harbison
ROWAN AZ100 GLAMOUR SHOT GALLERY


Very nice and well written article. That does indeed look like one amazing mount! Thanks for the write-up!
Thanks for the kind words, Dennis!
I recently got an AZ100, and it is indeed an excellent mount. Very happy with it, and thanks for the tip on syncing the view in both scopes with the saddle adjuster.
What case are you using that holds both tripod and mount?
Hi Russ! Thanks for the comment. I am using the SKB Delux Staff Travel Case. It is intended for golf clubs but work well here. The inside of my case measures exactly 50 inches from top to bottom so take care to check the length. It seems some of them are only 48 inches.
Here is the link: https://www.amazon.com/SKB-Staff-Golf-Travel-Case/dp/B0000AUB58/ref=sr_1_3?crid=3BV53C0UM8EGX&keywords=SKB%2Bgolf&qid=1665538457&qu=eyJxc2MiOiIyLjgzIiwicXNhIjoiMi4xMiIsInFzcCI6IjIuMzkifQ%3D%3D&sprefix=skb%2Bgolf%2Caps%2C86&sr=8-3&ufe=app_do%3Aamzn1.fos.08f69ac3-fd3d-4b88-bca2-8997e41410bb&th=1
Clear Skies and enjoy the mount!
Matt
My AZ 100 just arrived a couple weeks ago and I’m enjoying using it. I’m trying to figure out a good solution to attaching an iPad to my mount and tripod. I’m using a Avalon TPOD110 as my tripod and it’s rock solid. I’d be very keen to know your iPad mounting solution once you finalize that please?
Sure! I have some parts arriving next week to try and solve the puzzle. I’ll keep you informed!